Today I’ll be covering the first phase of my new pet project: a server rack.
So let’s start with ordering a new rack. Even though most of what I’ll put inside will be second-hand material to save some money, for the rack itself I chose it to be brand new.
I ordered this:
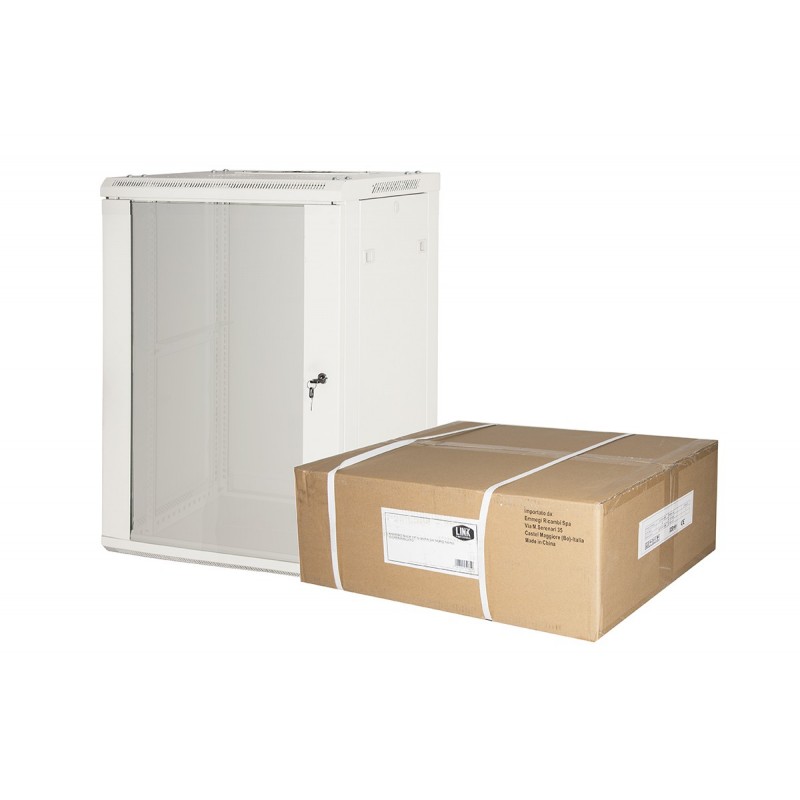
but then got this ?:
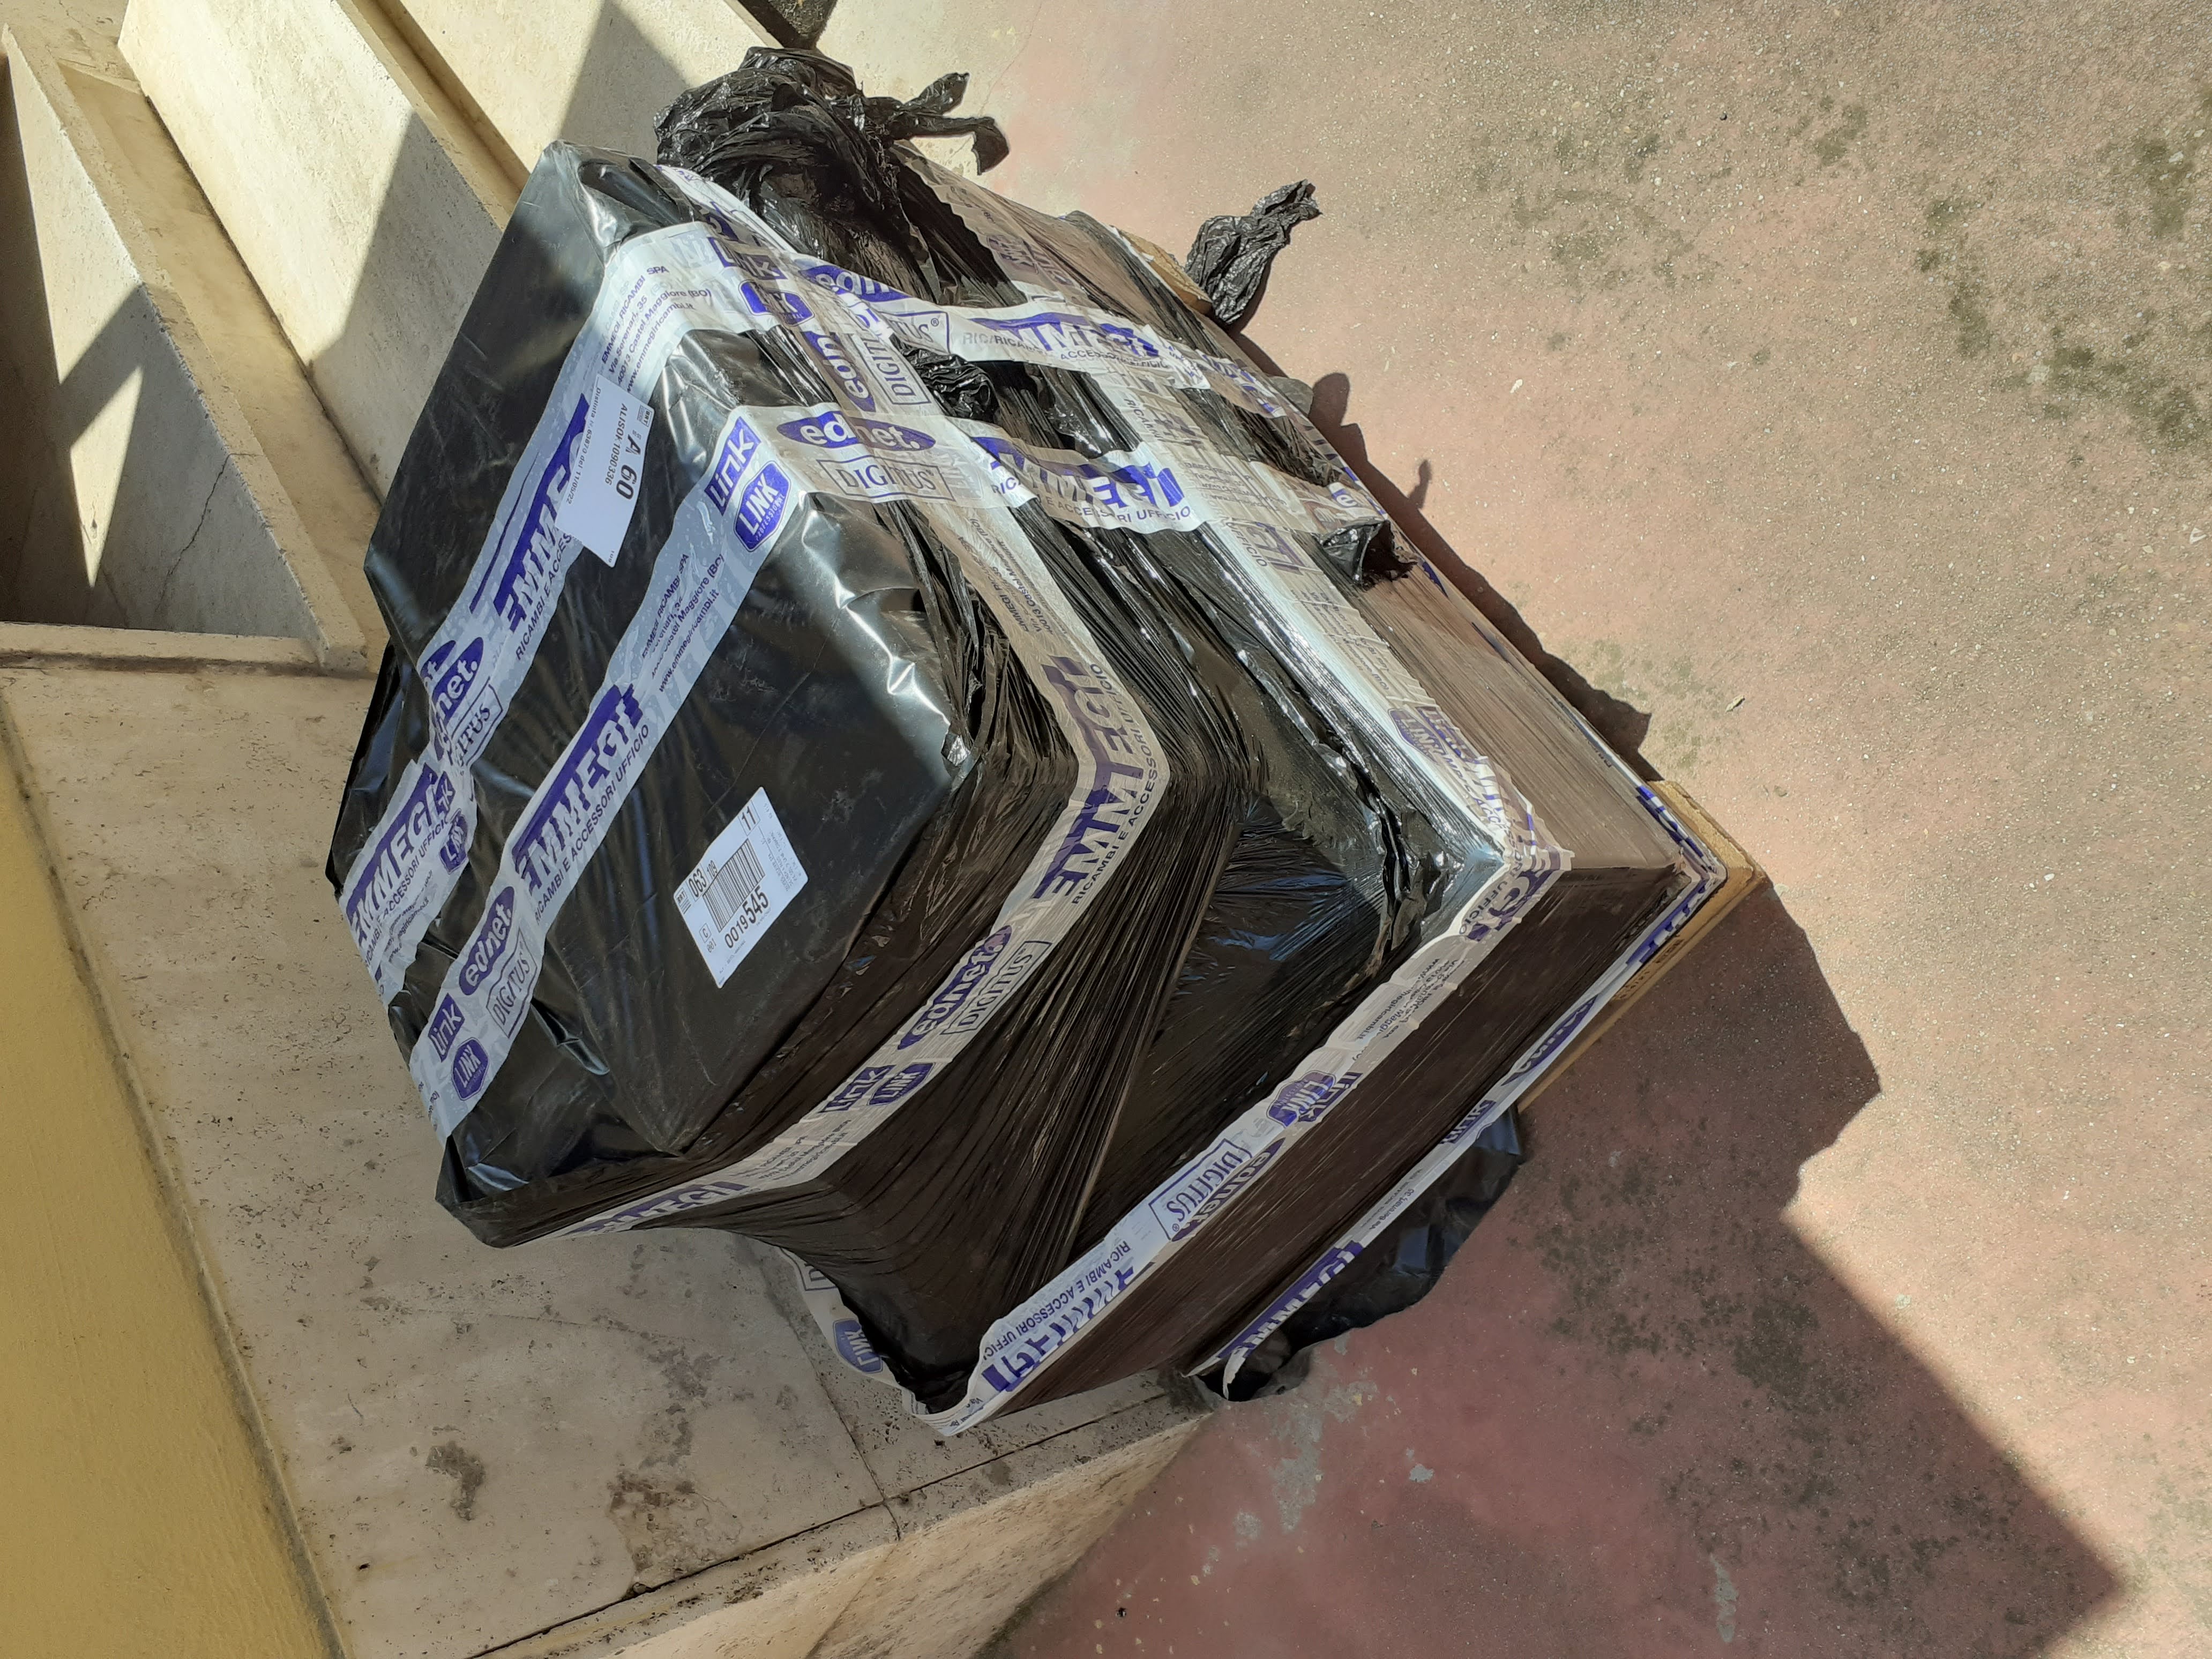
Let’s do some unboxing…
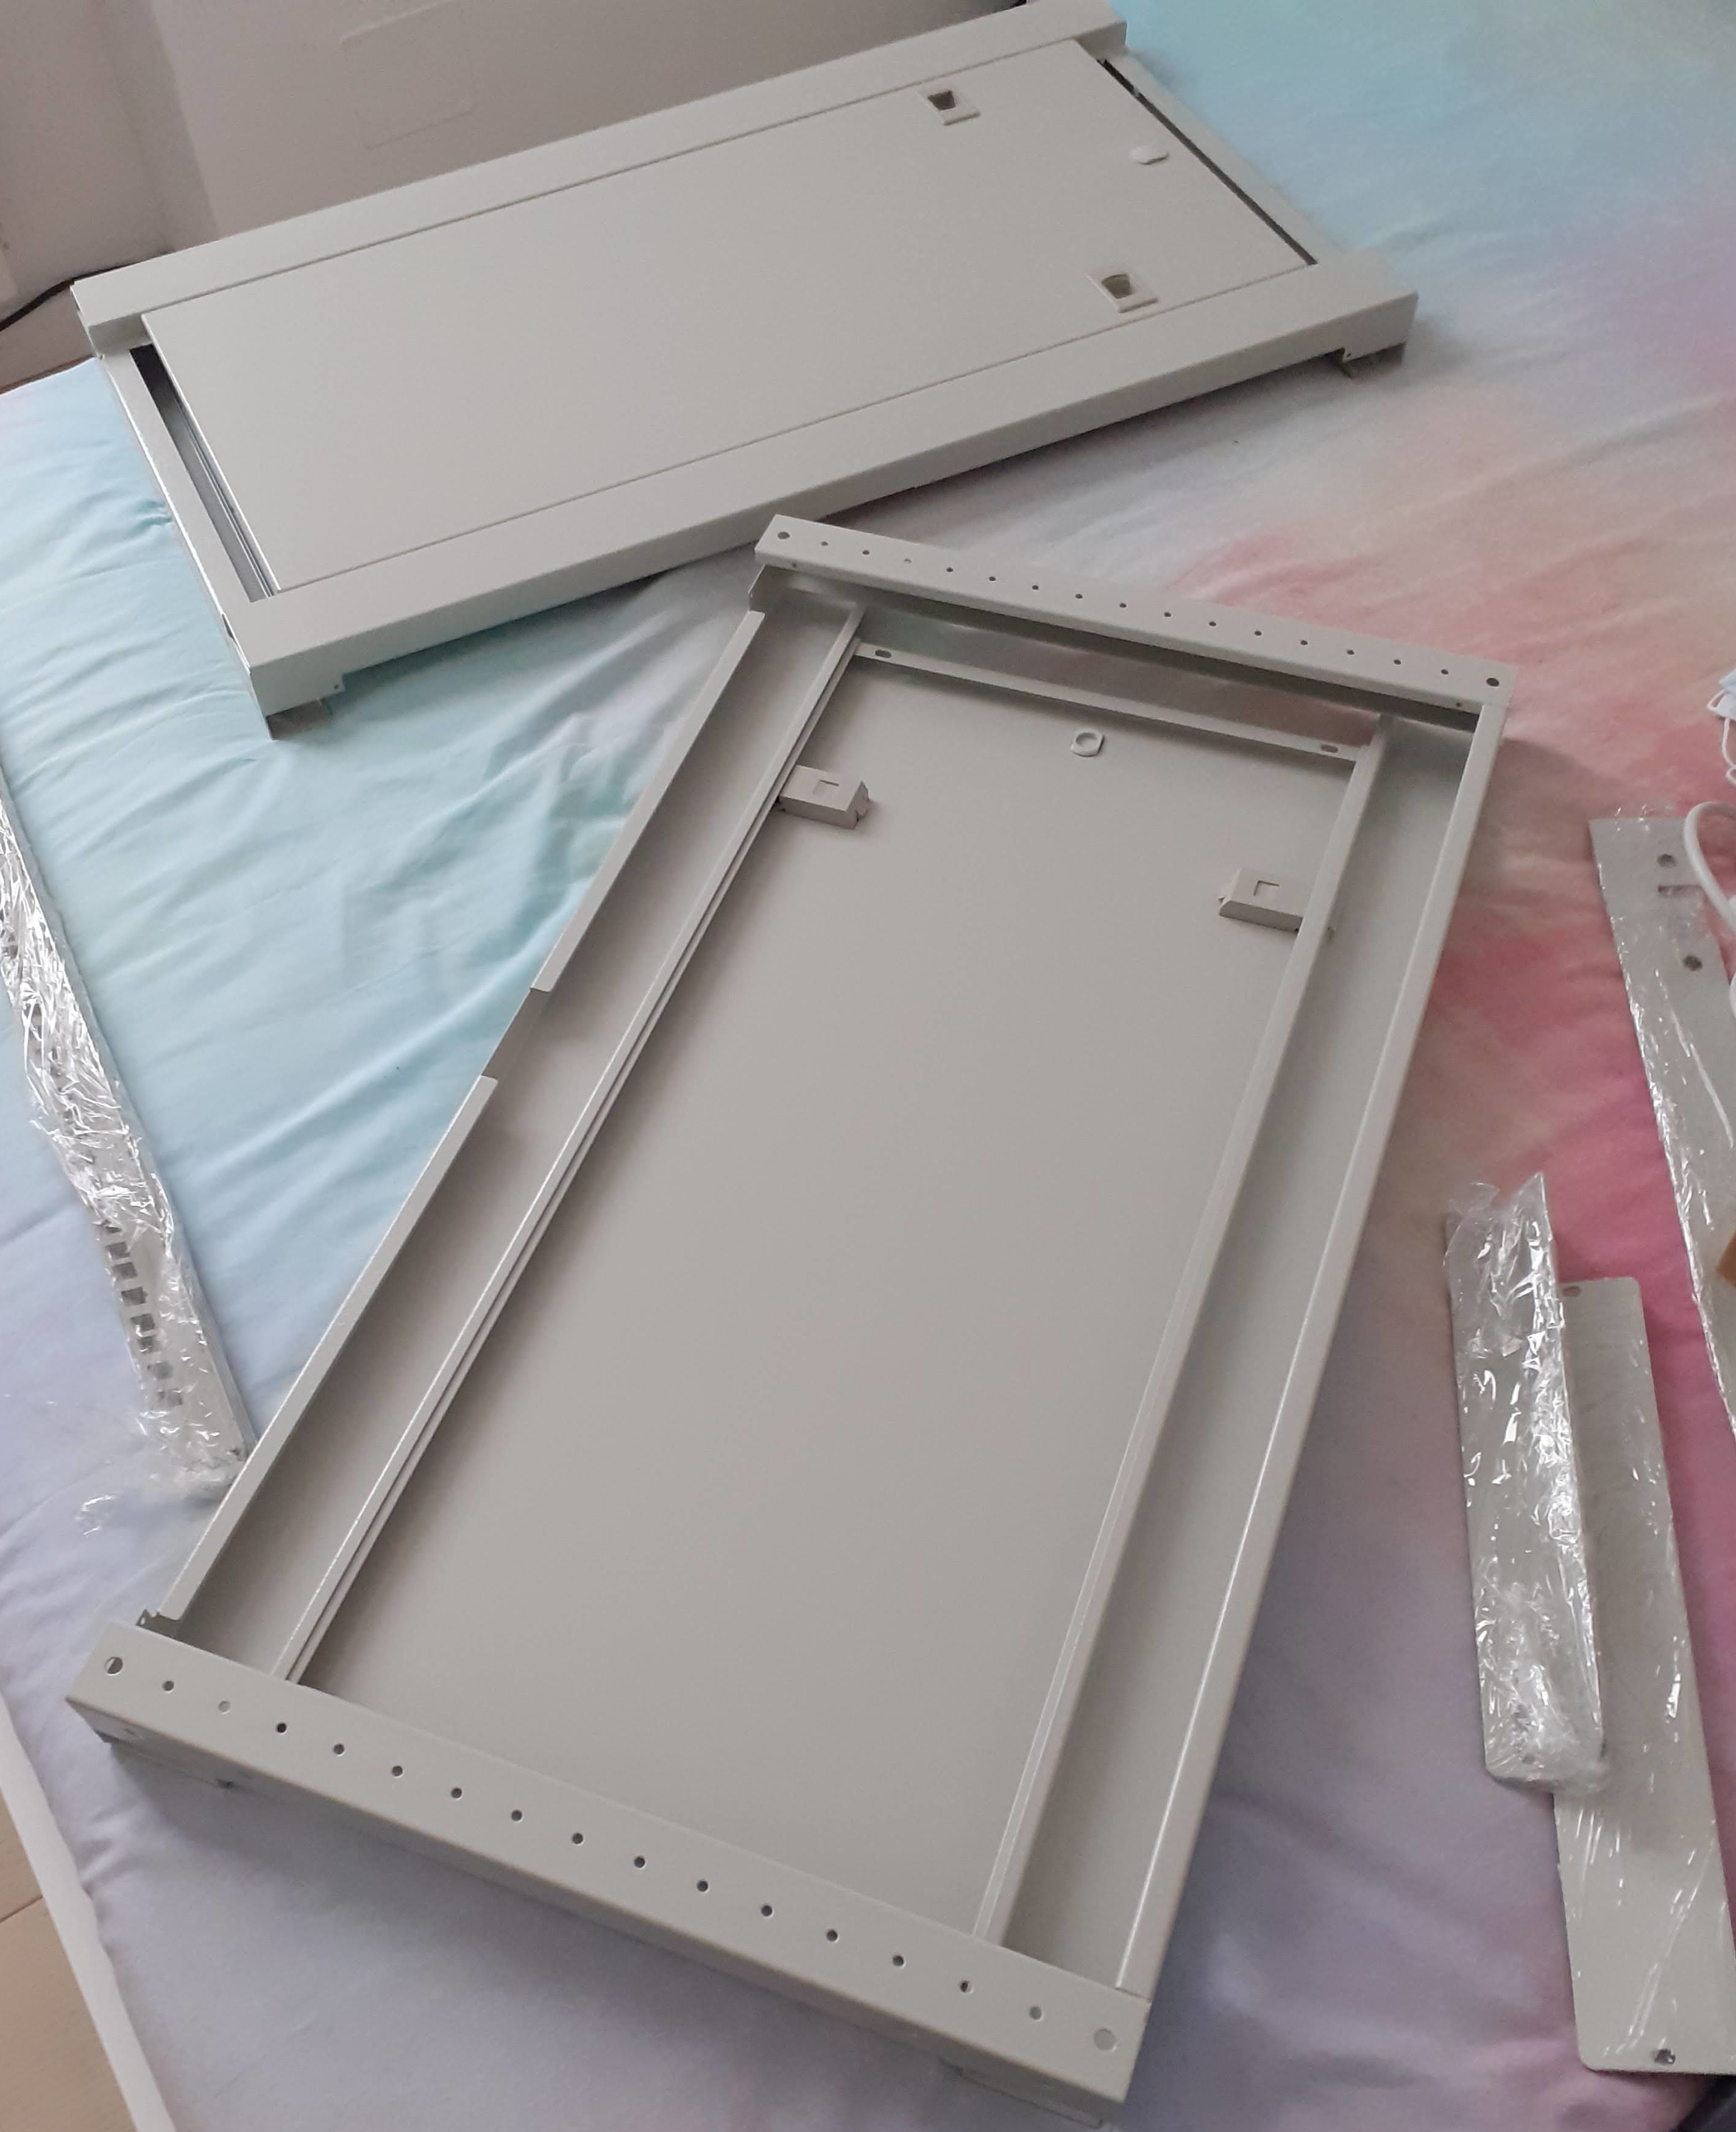
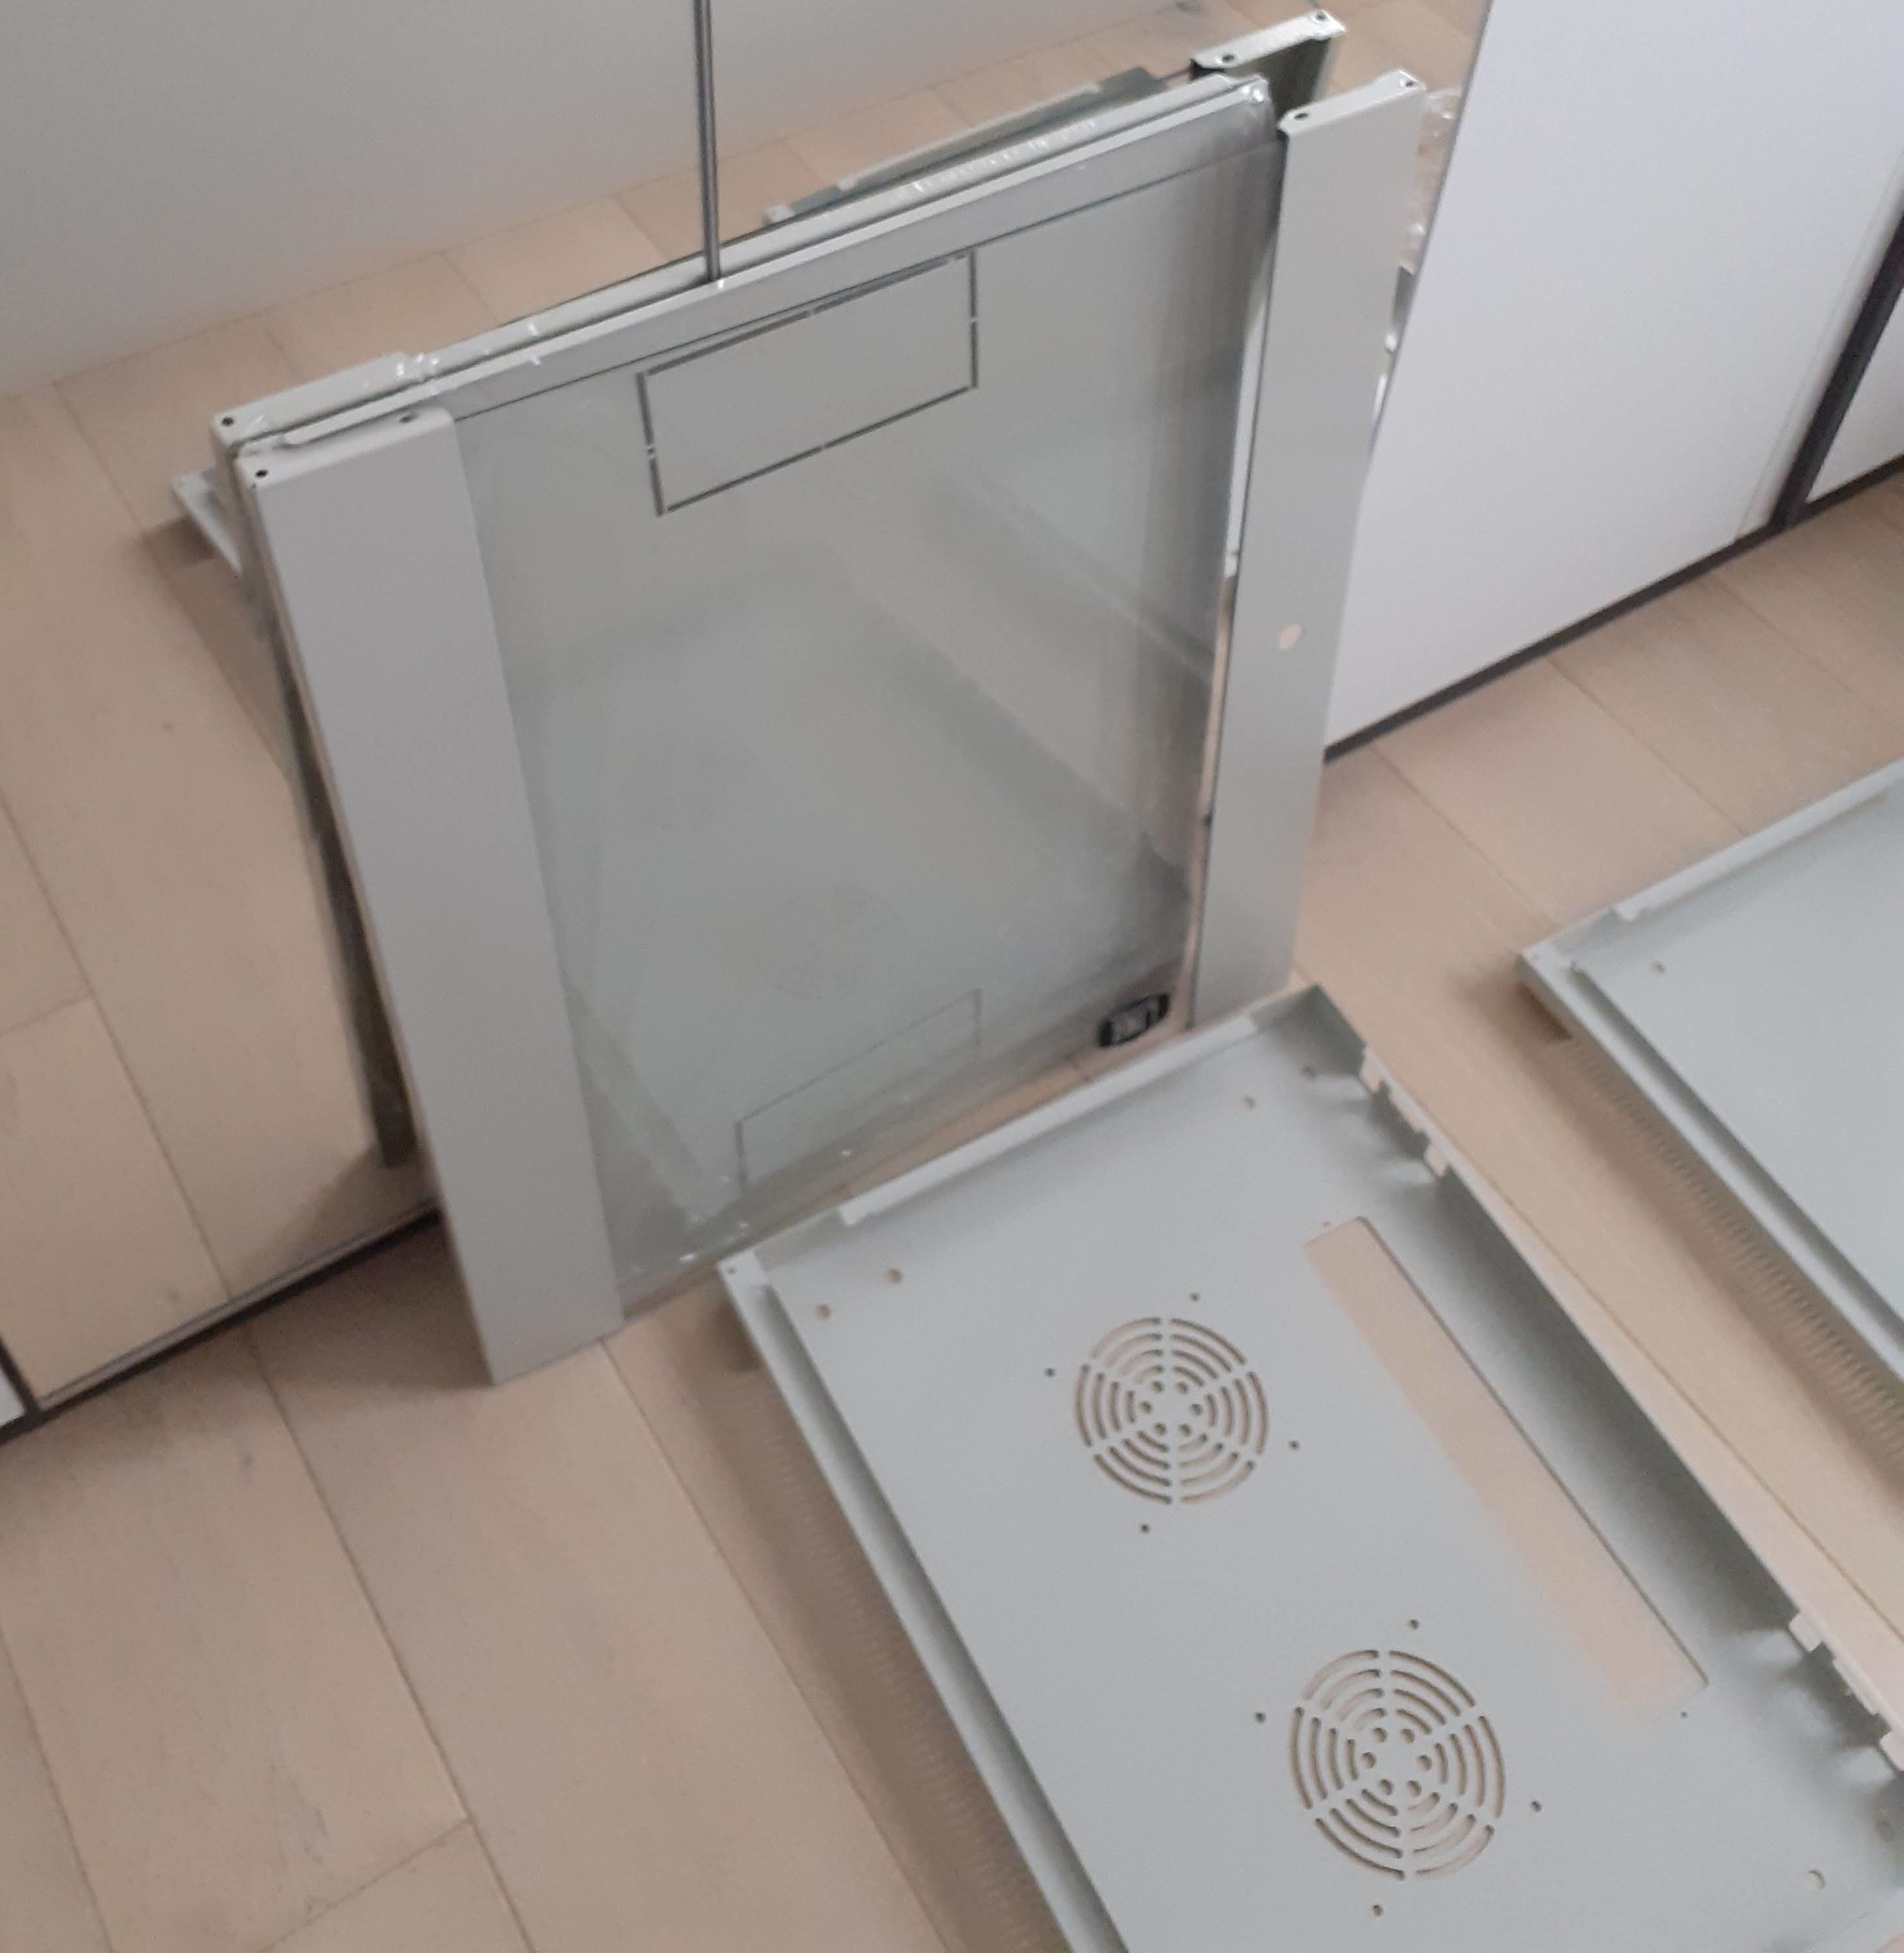
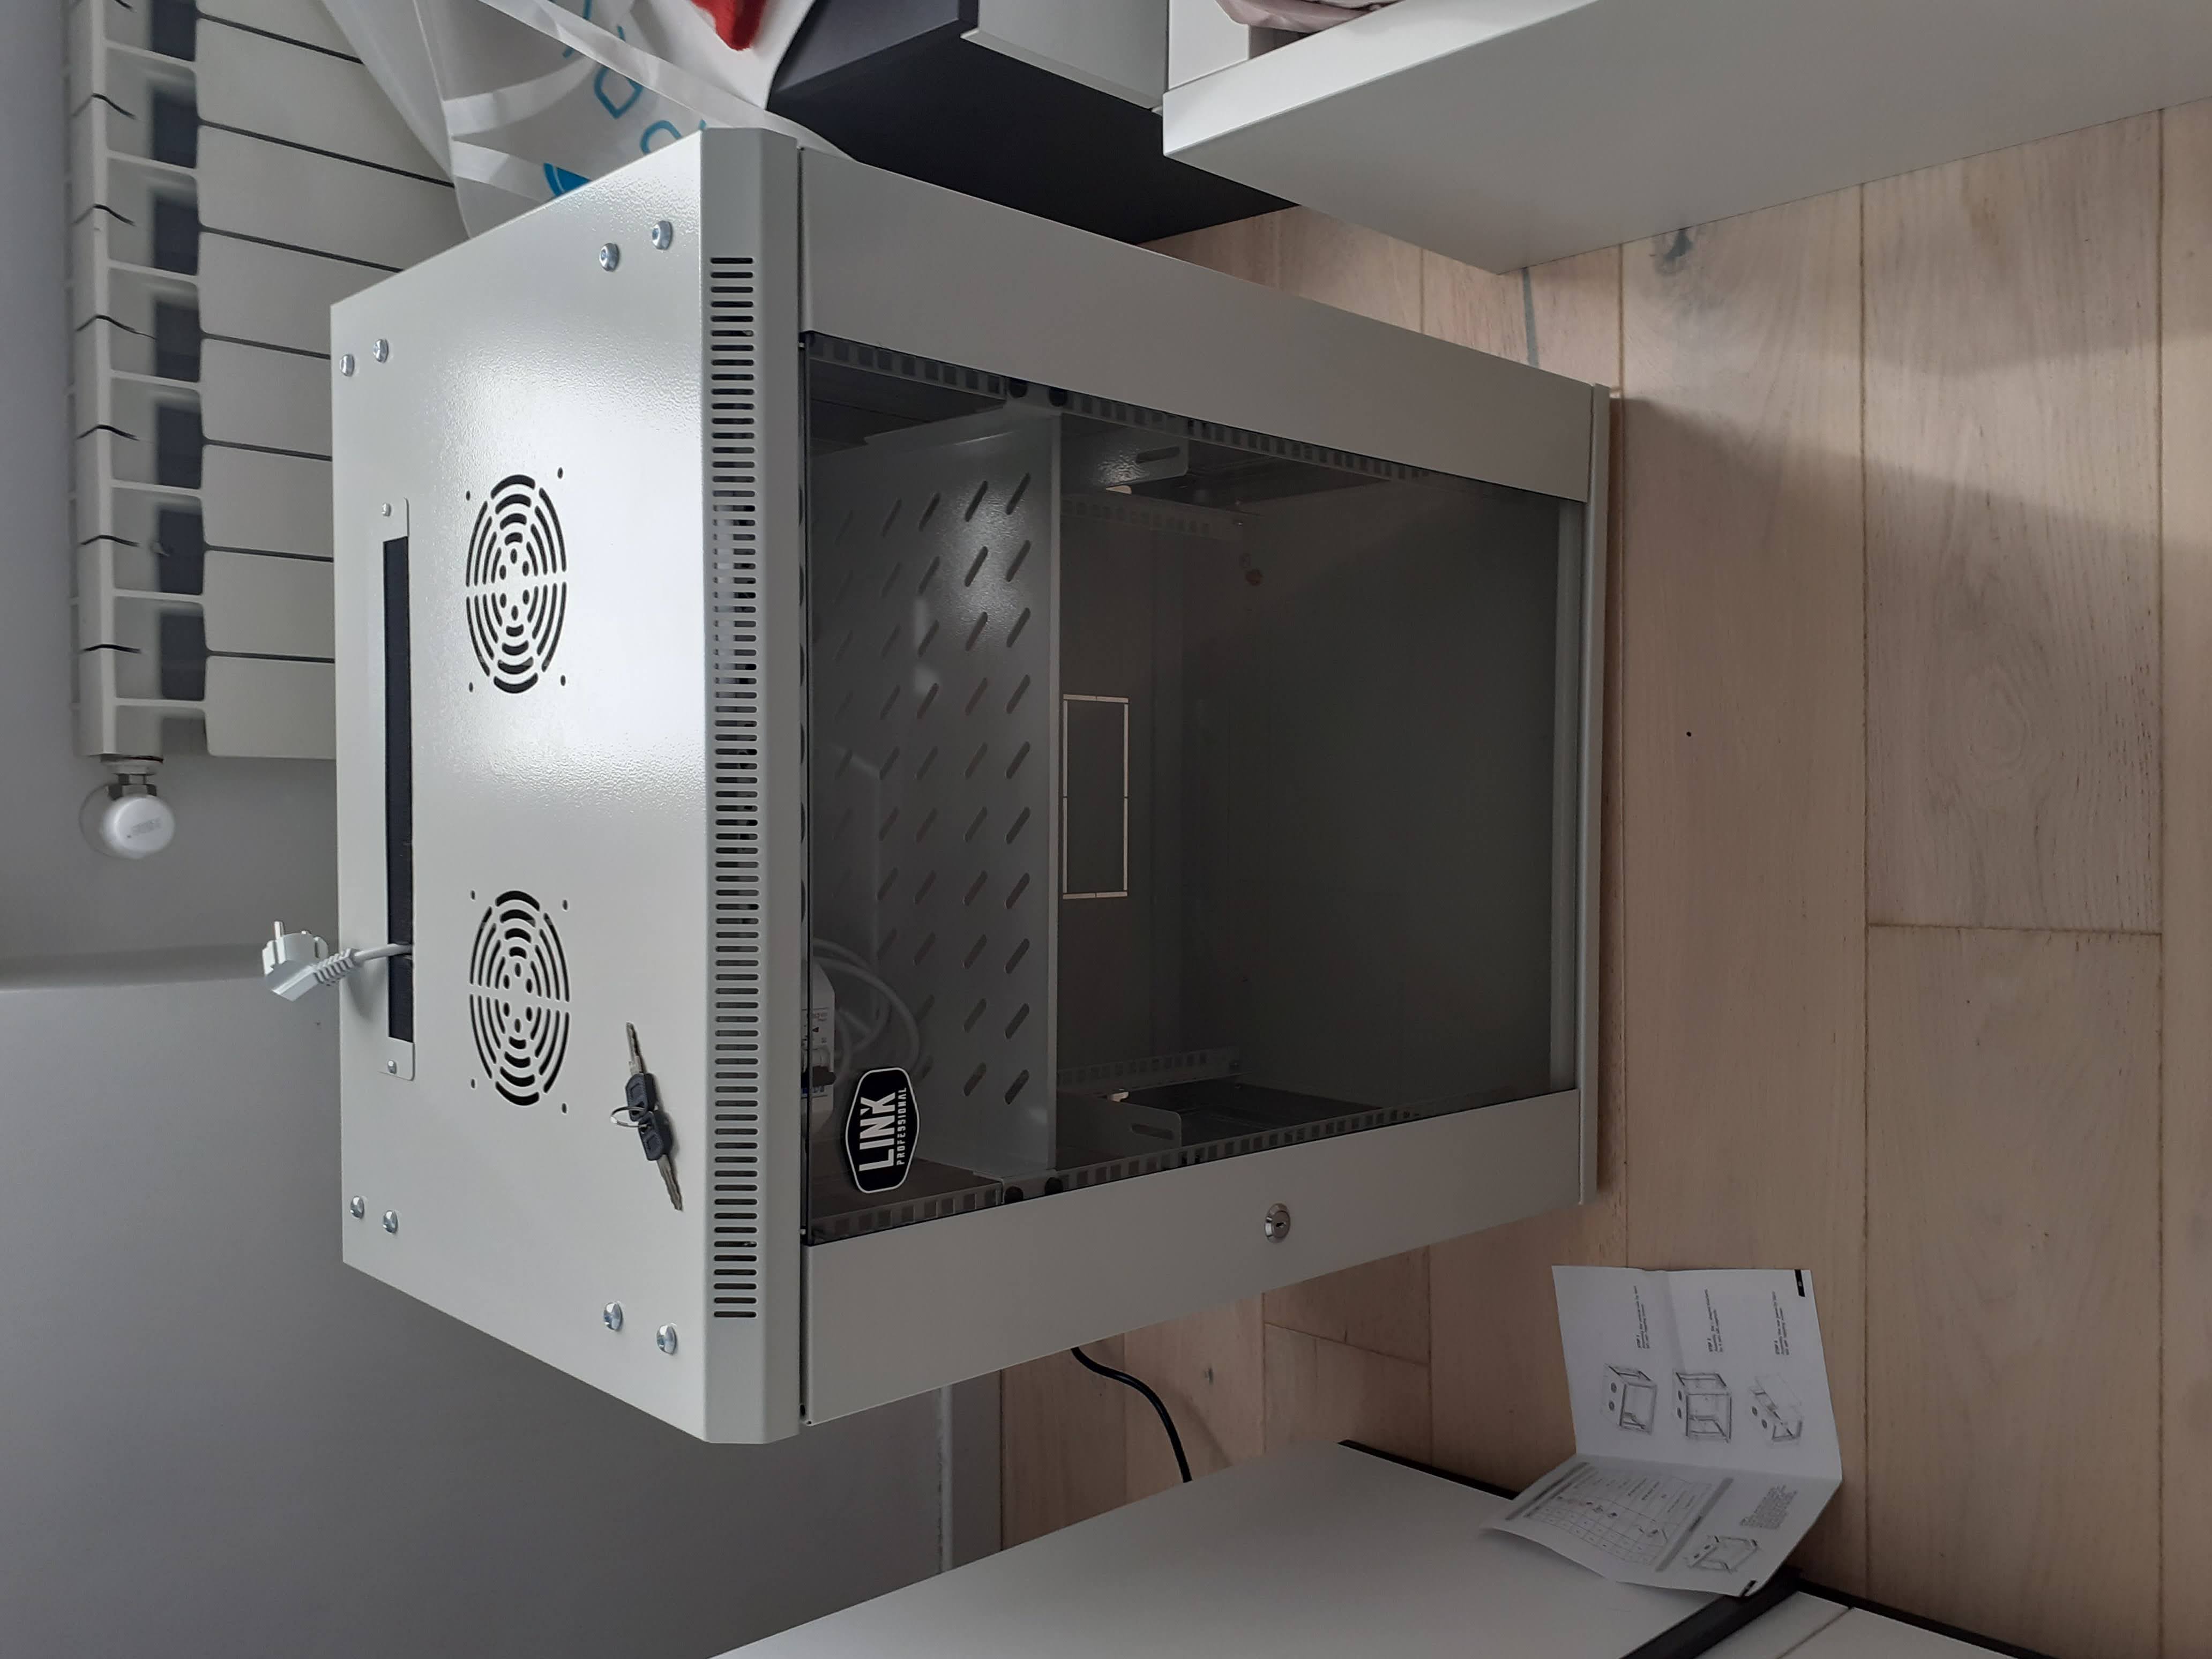
And of course, since I’m a newbie I mounted it back to front. The door won’t even close. So, let’s disassemble the top and the bottom and rotate them… Let’s find out how many times I need to disassemble it before getting it right…
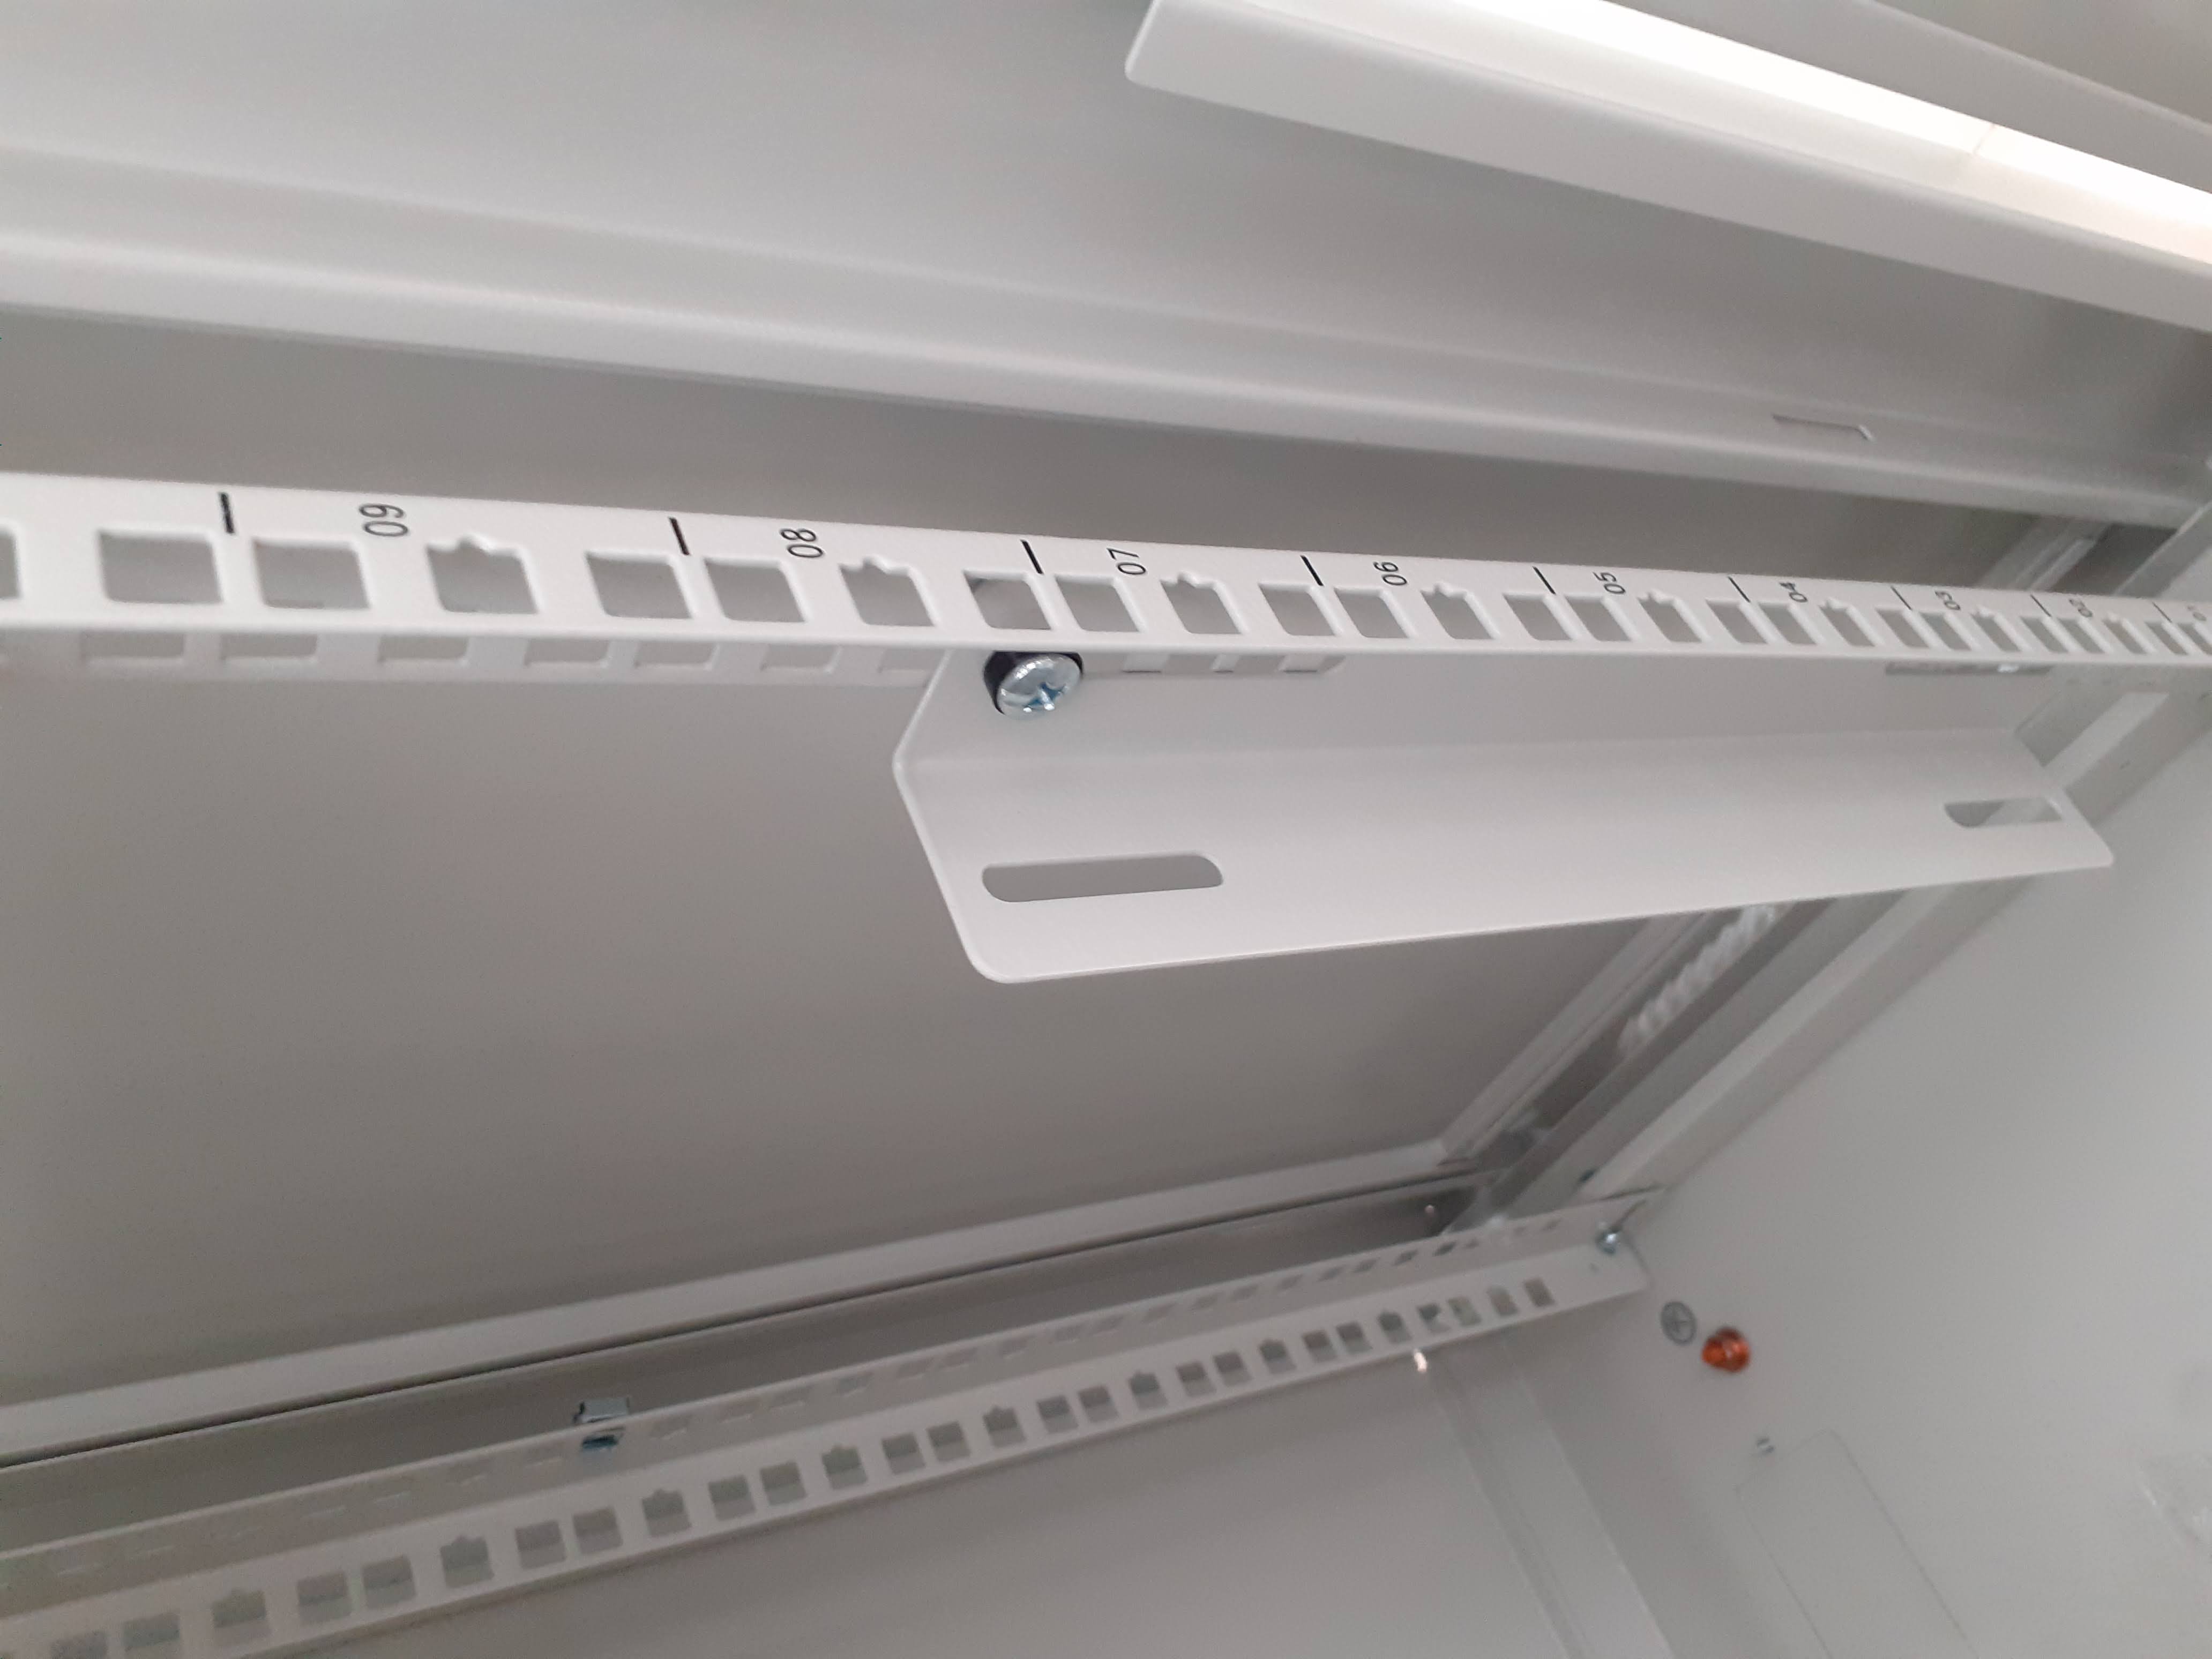
What are those nuts?
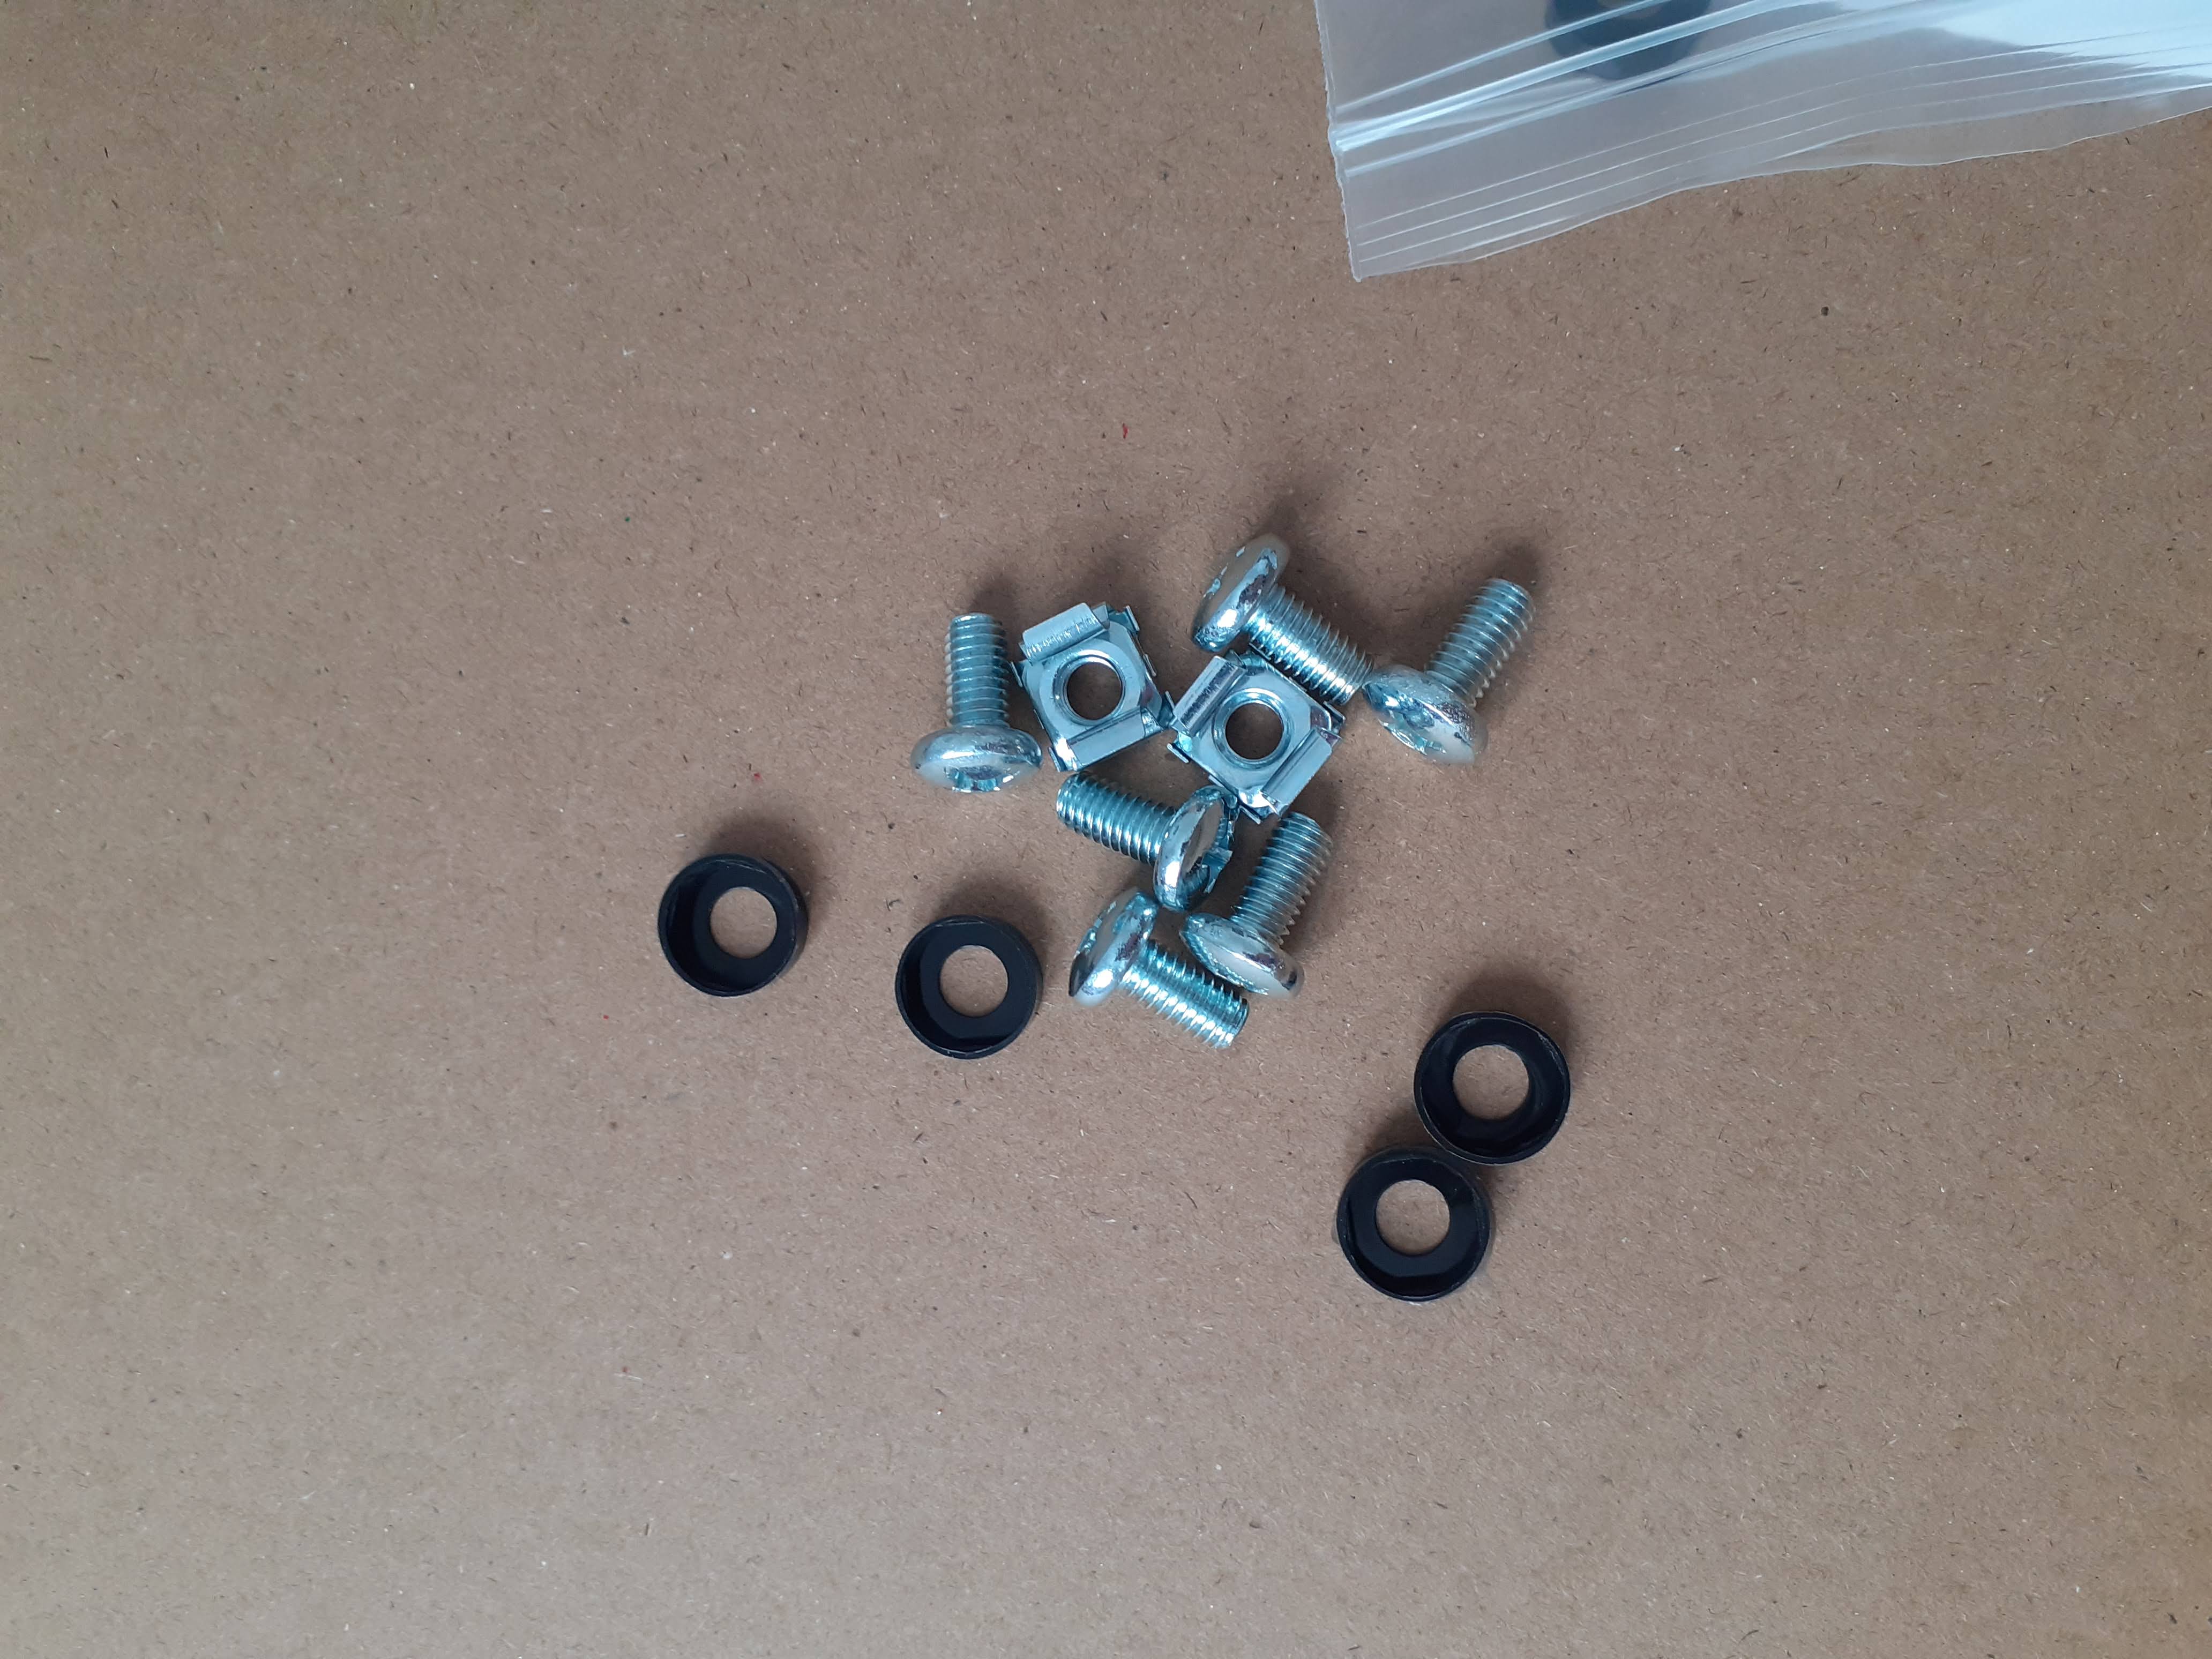
And more importantly in which direction do I mount them?! Let’s try this way:
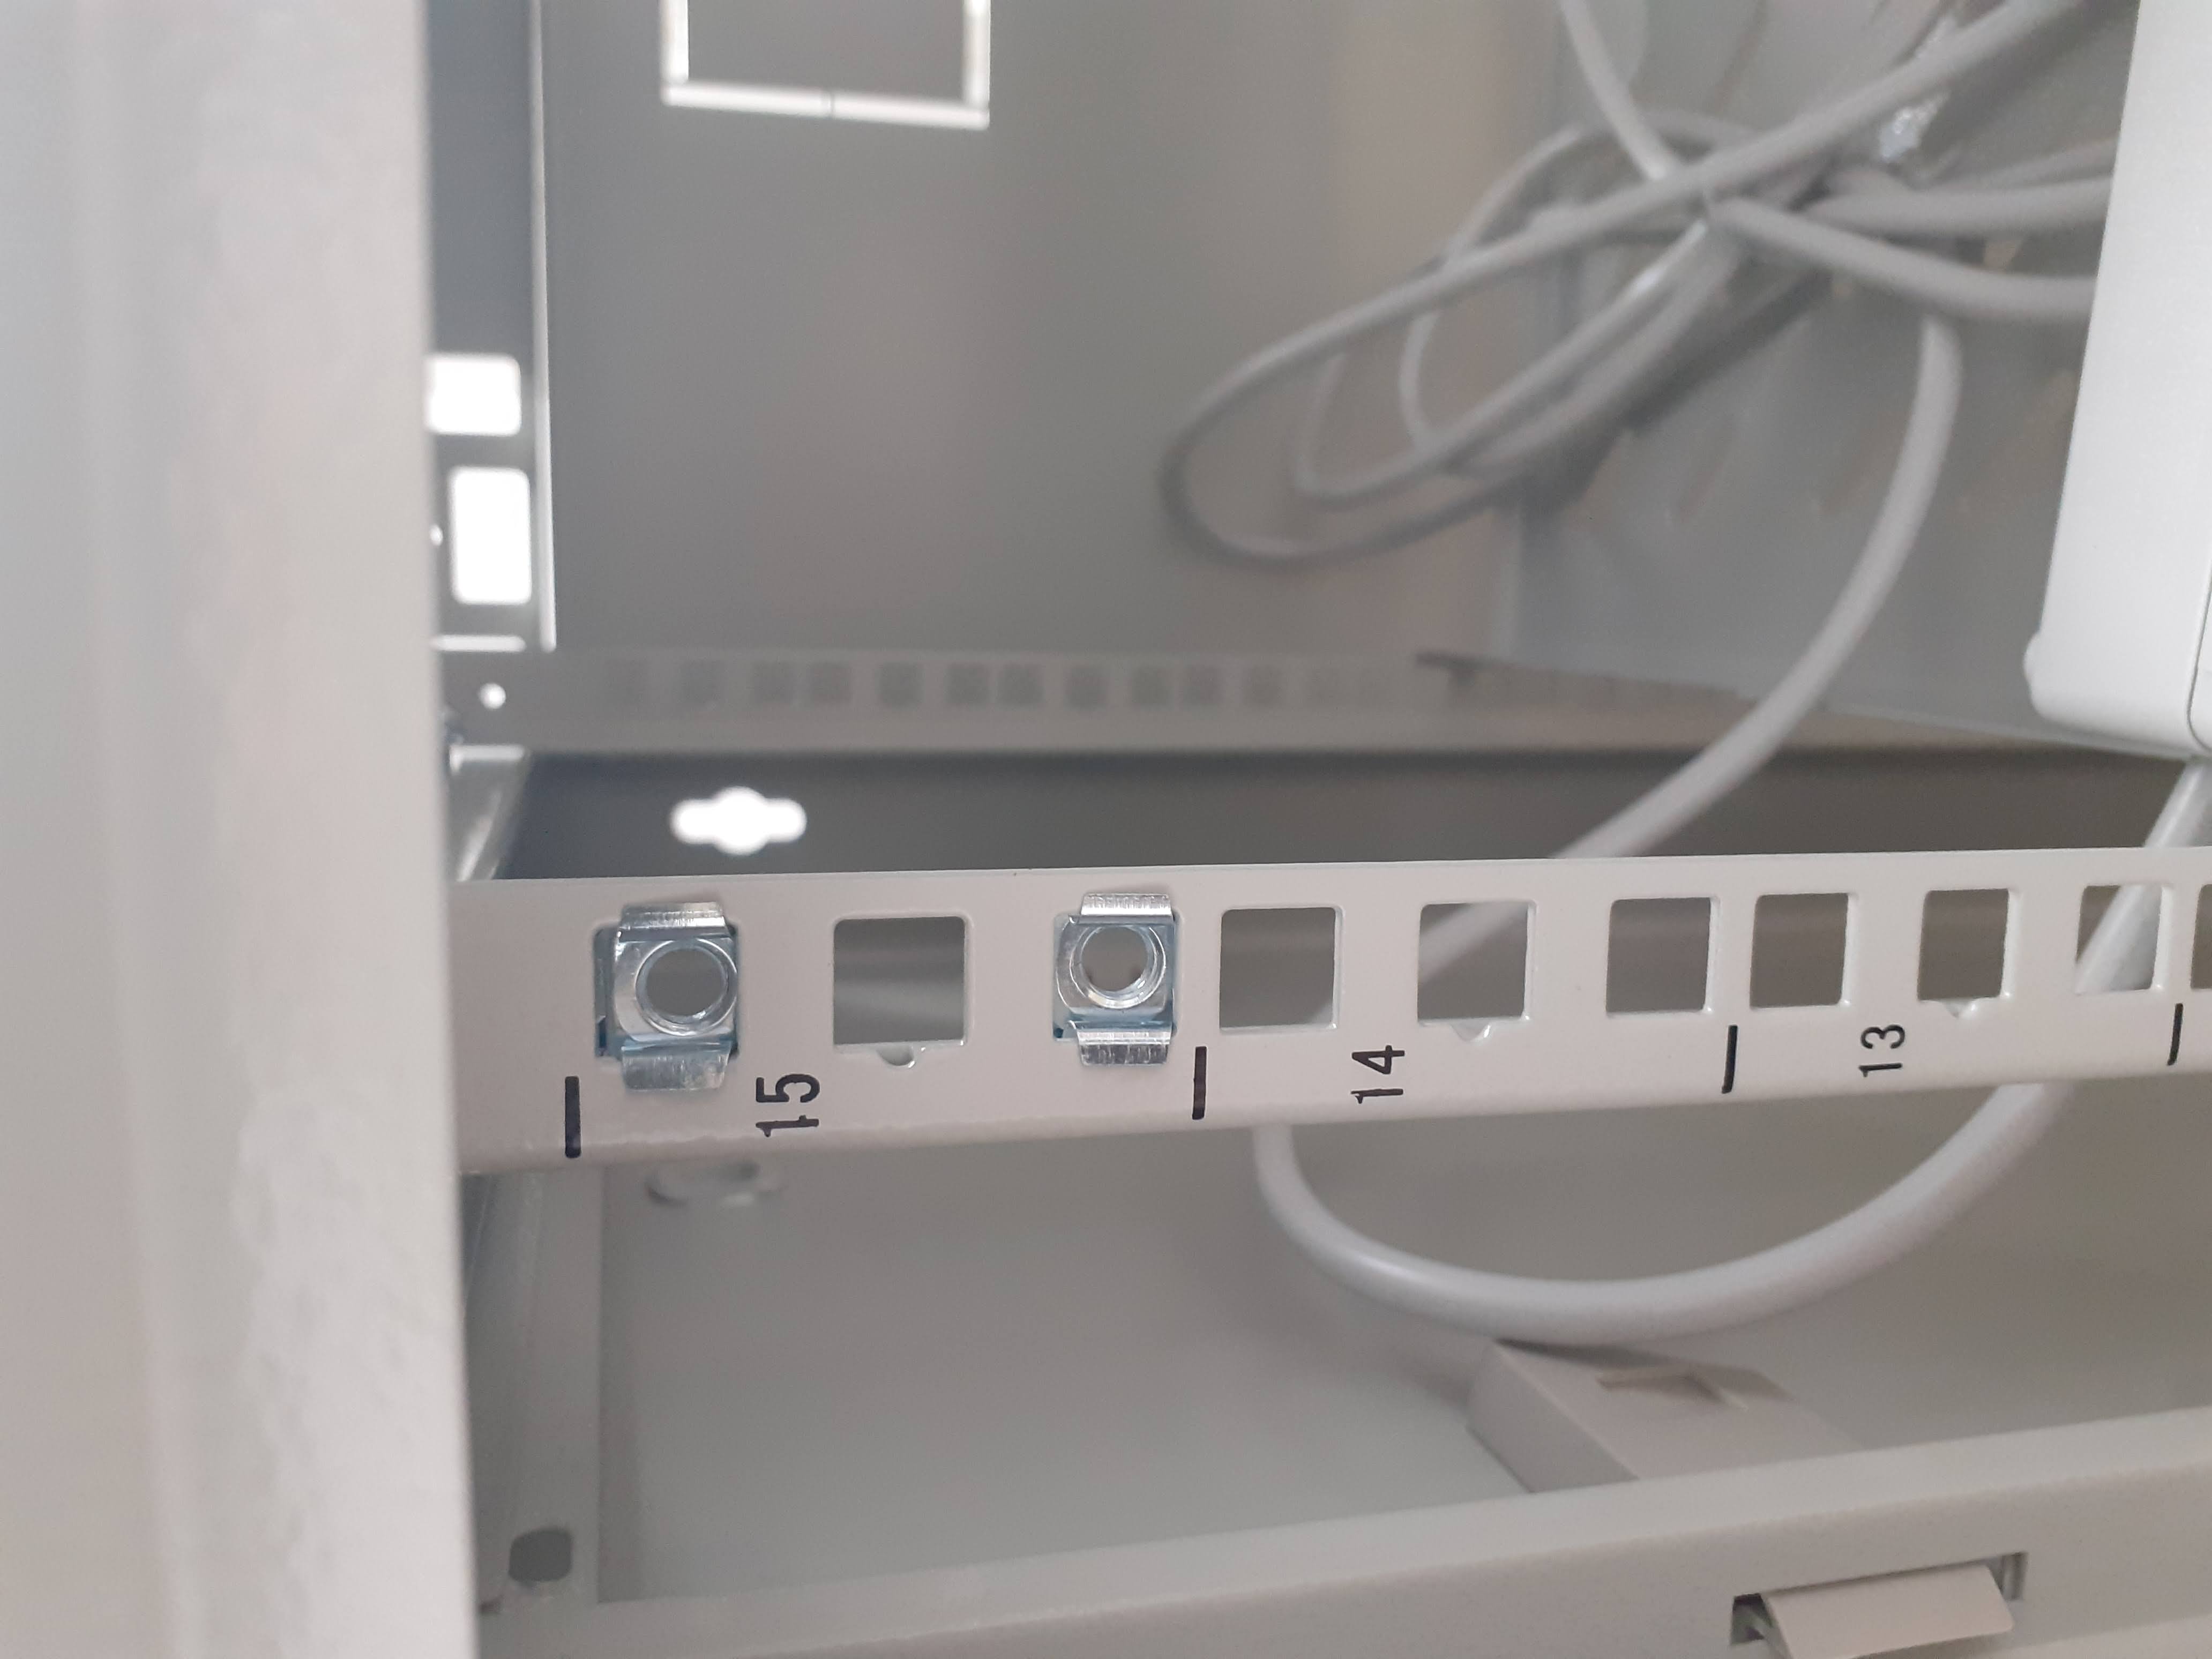
Apparently, I’ve been lucky, after mounting them I discovered this nice thread on StackOverflow.
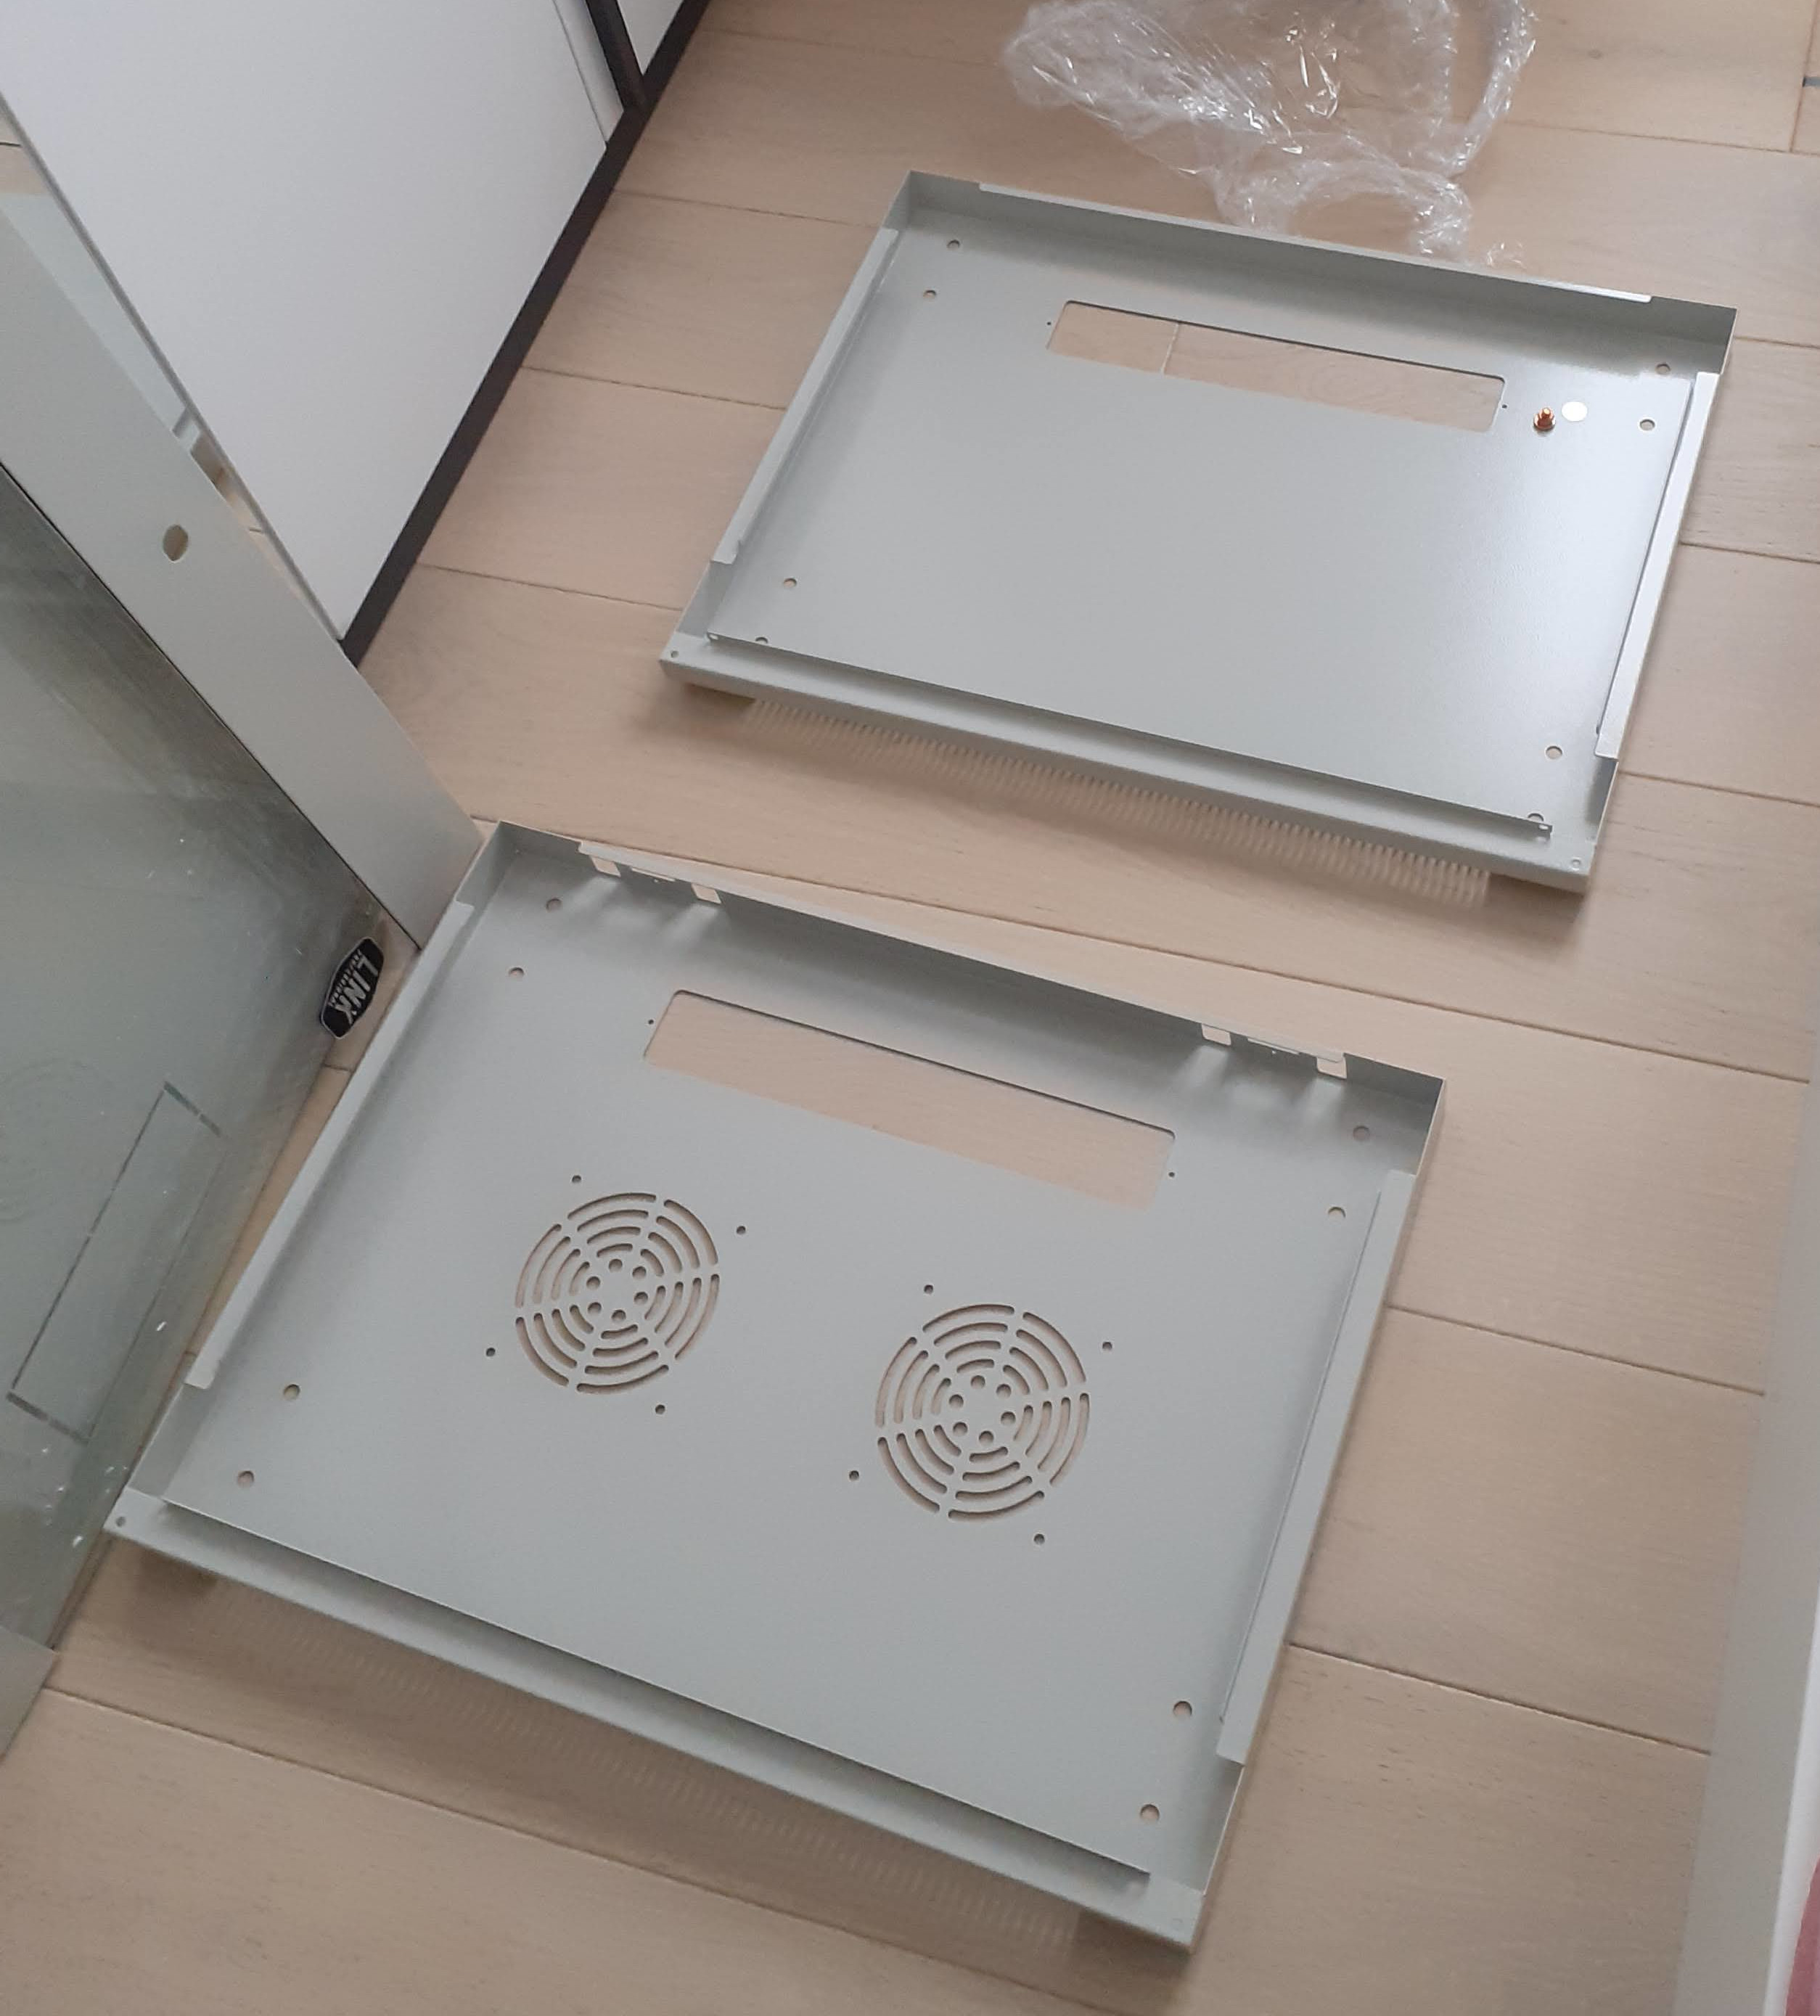
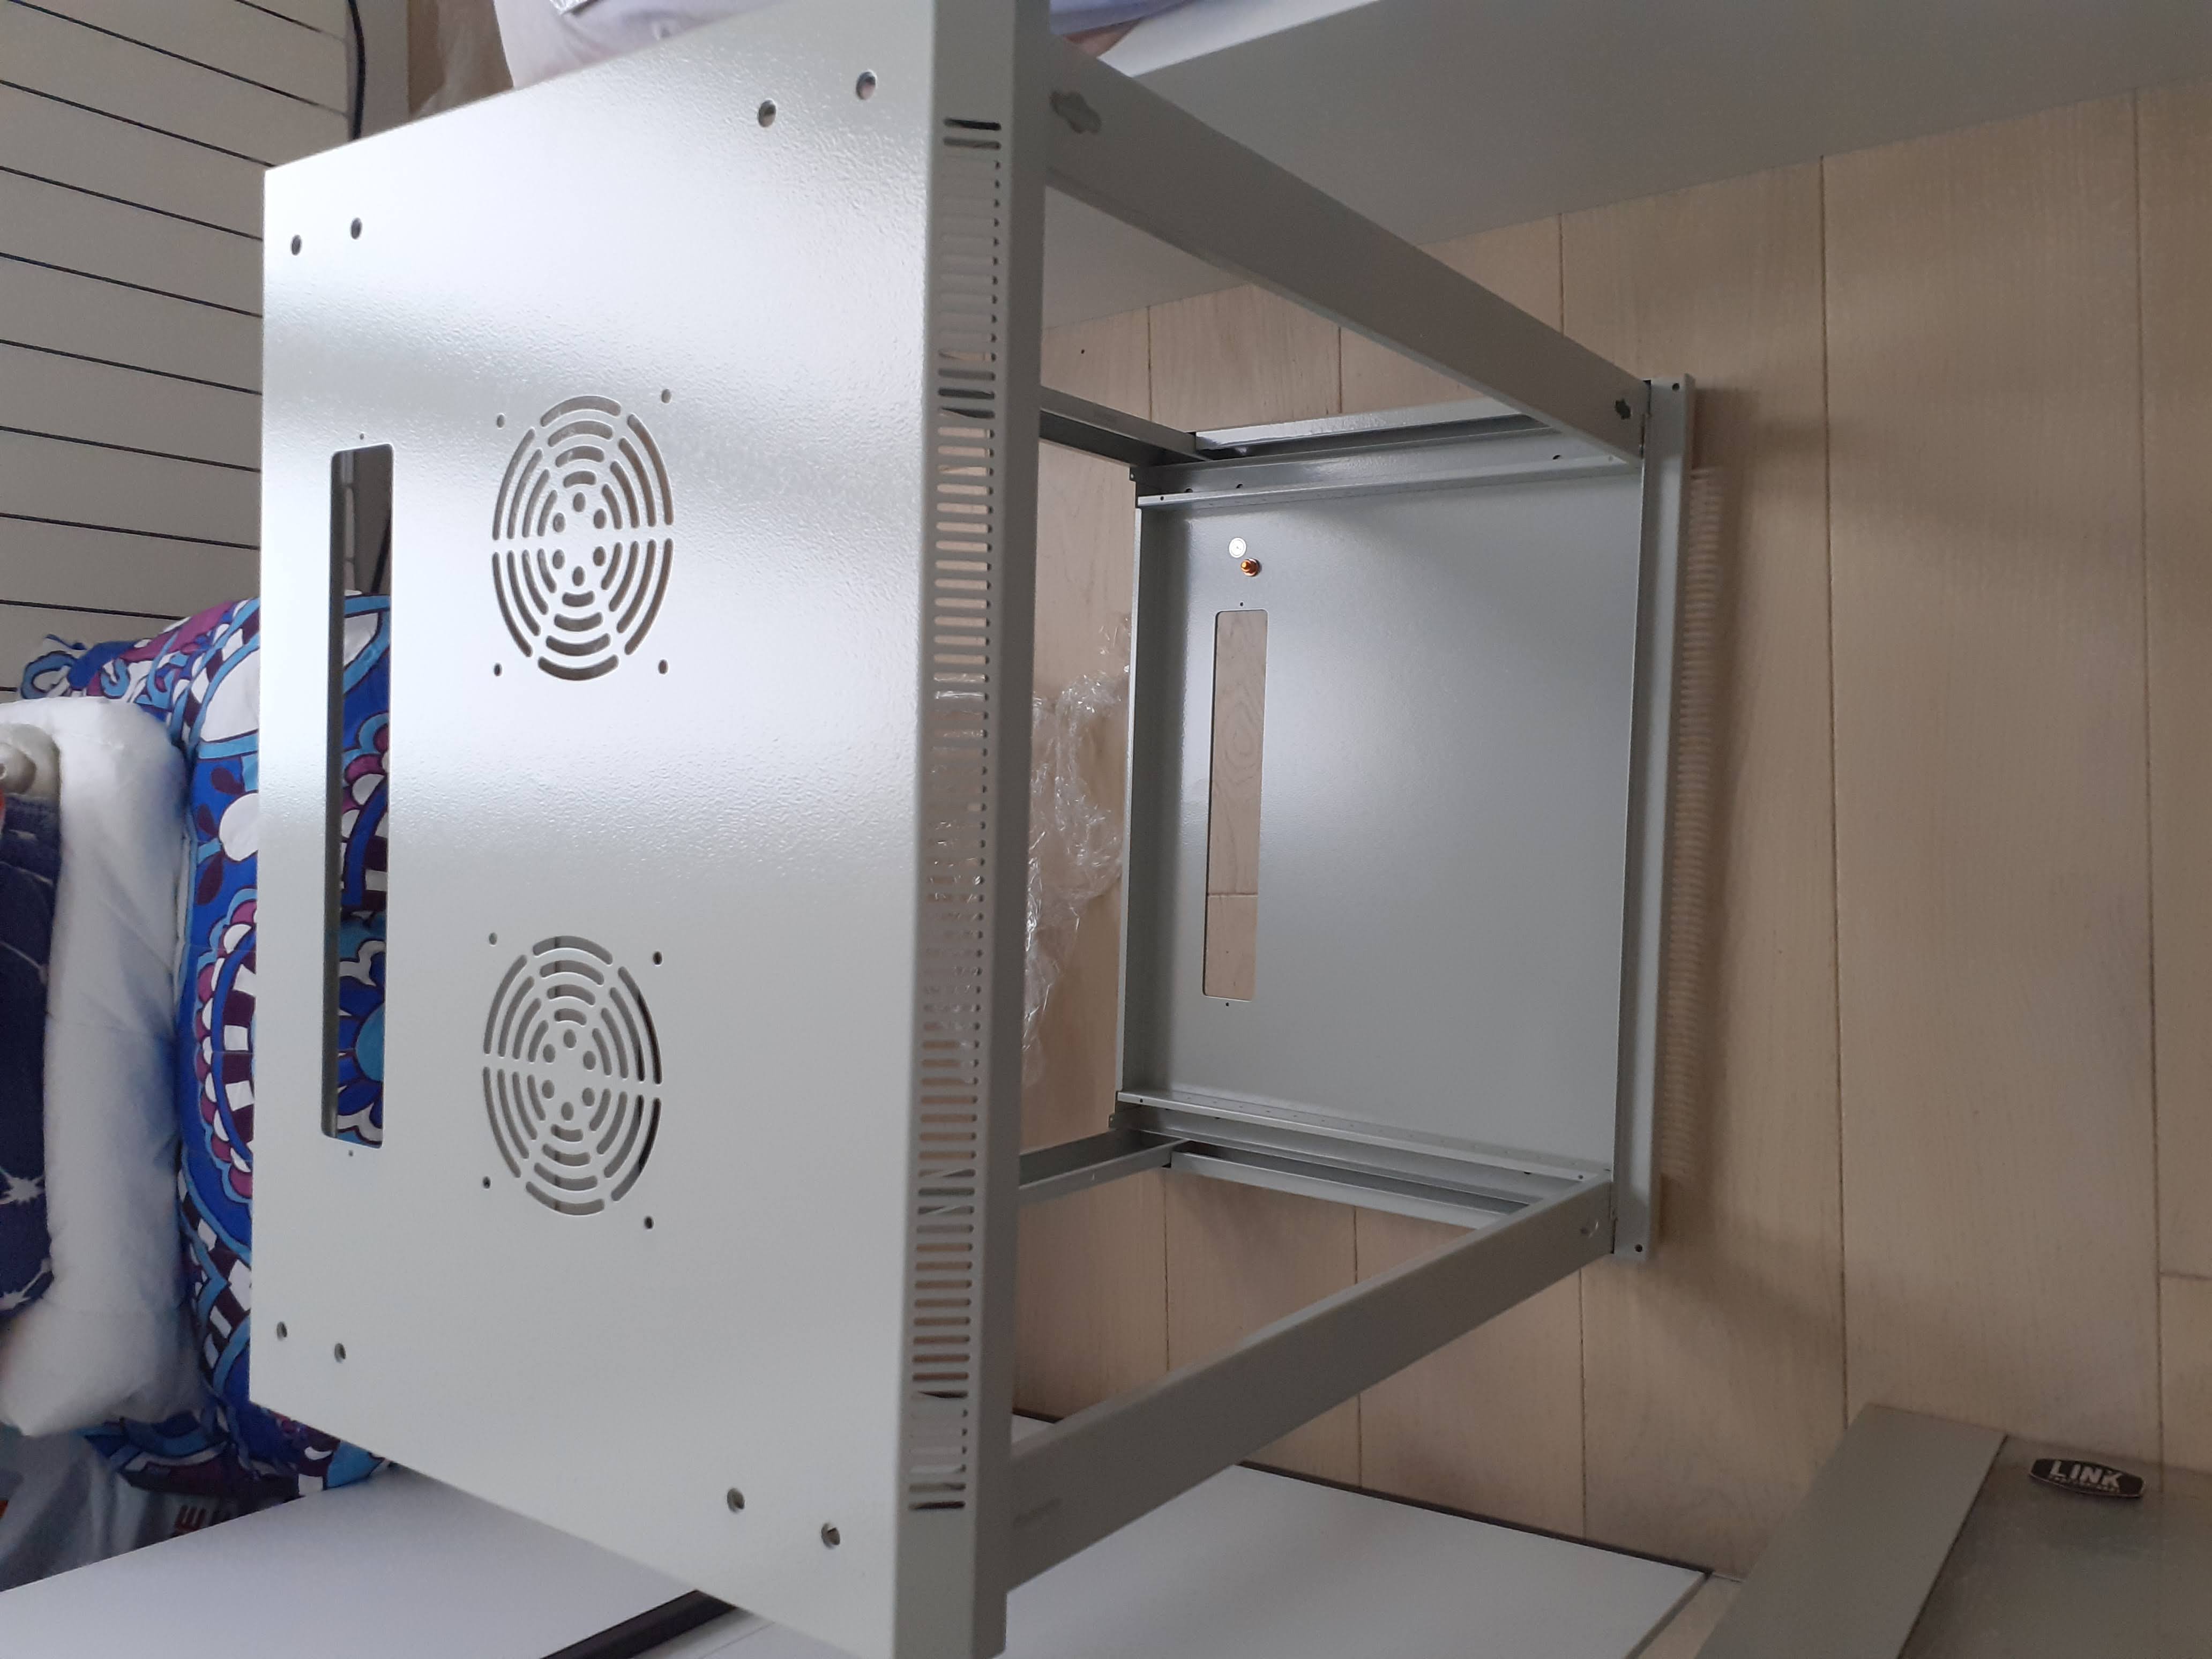
Let’s keep going mounting this L-shaped bracket to keep those 2 rails together:
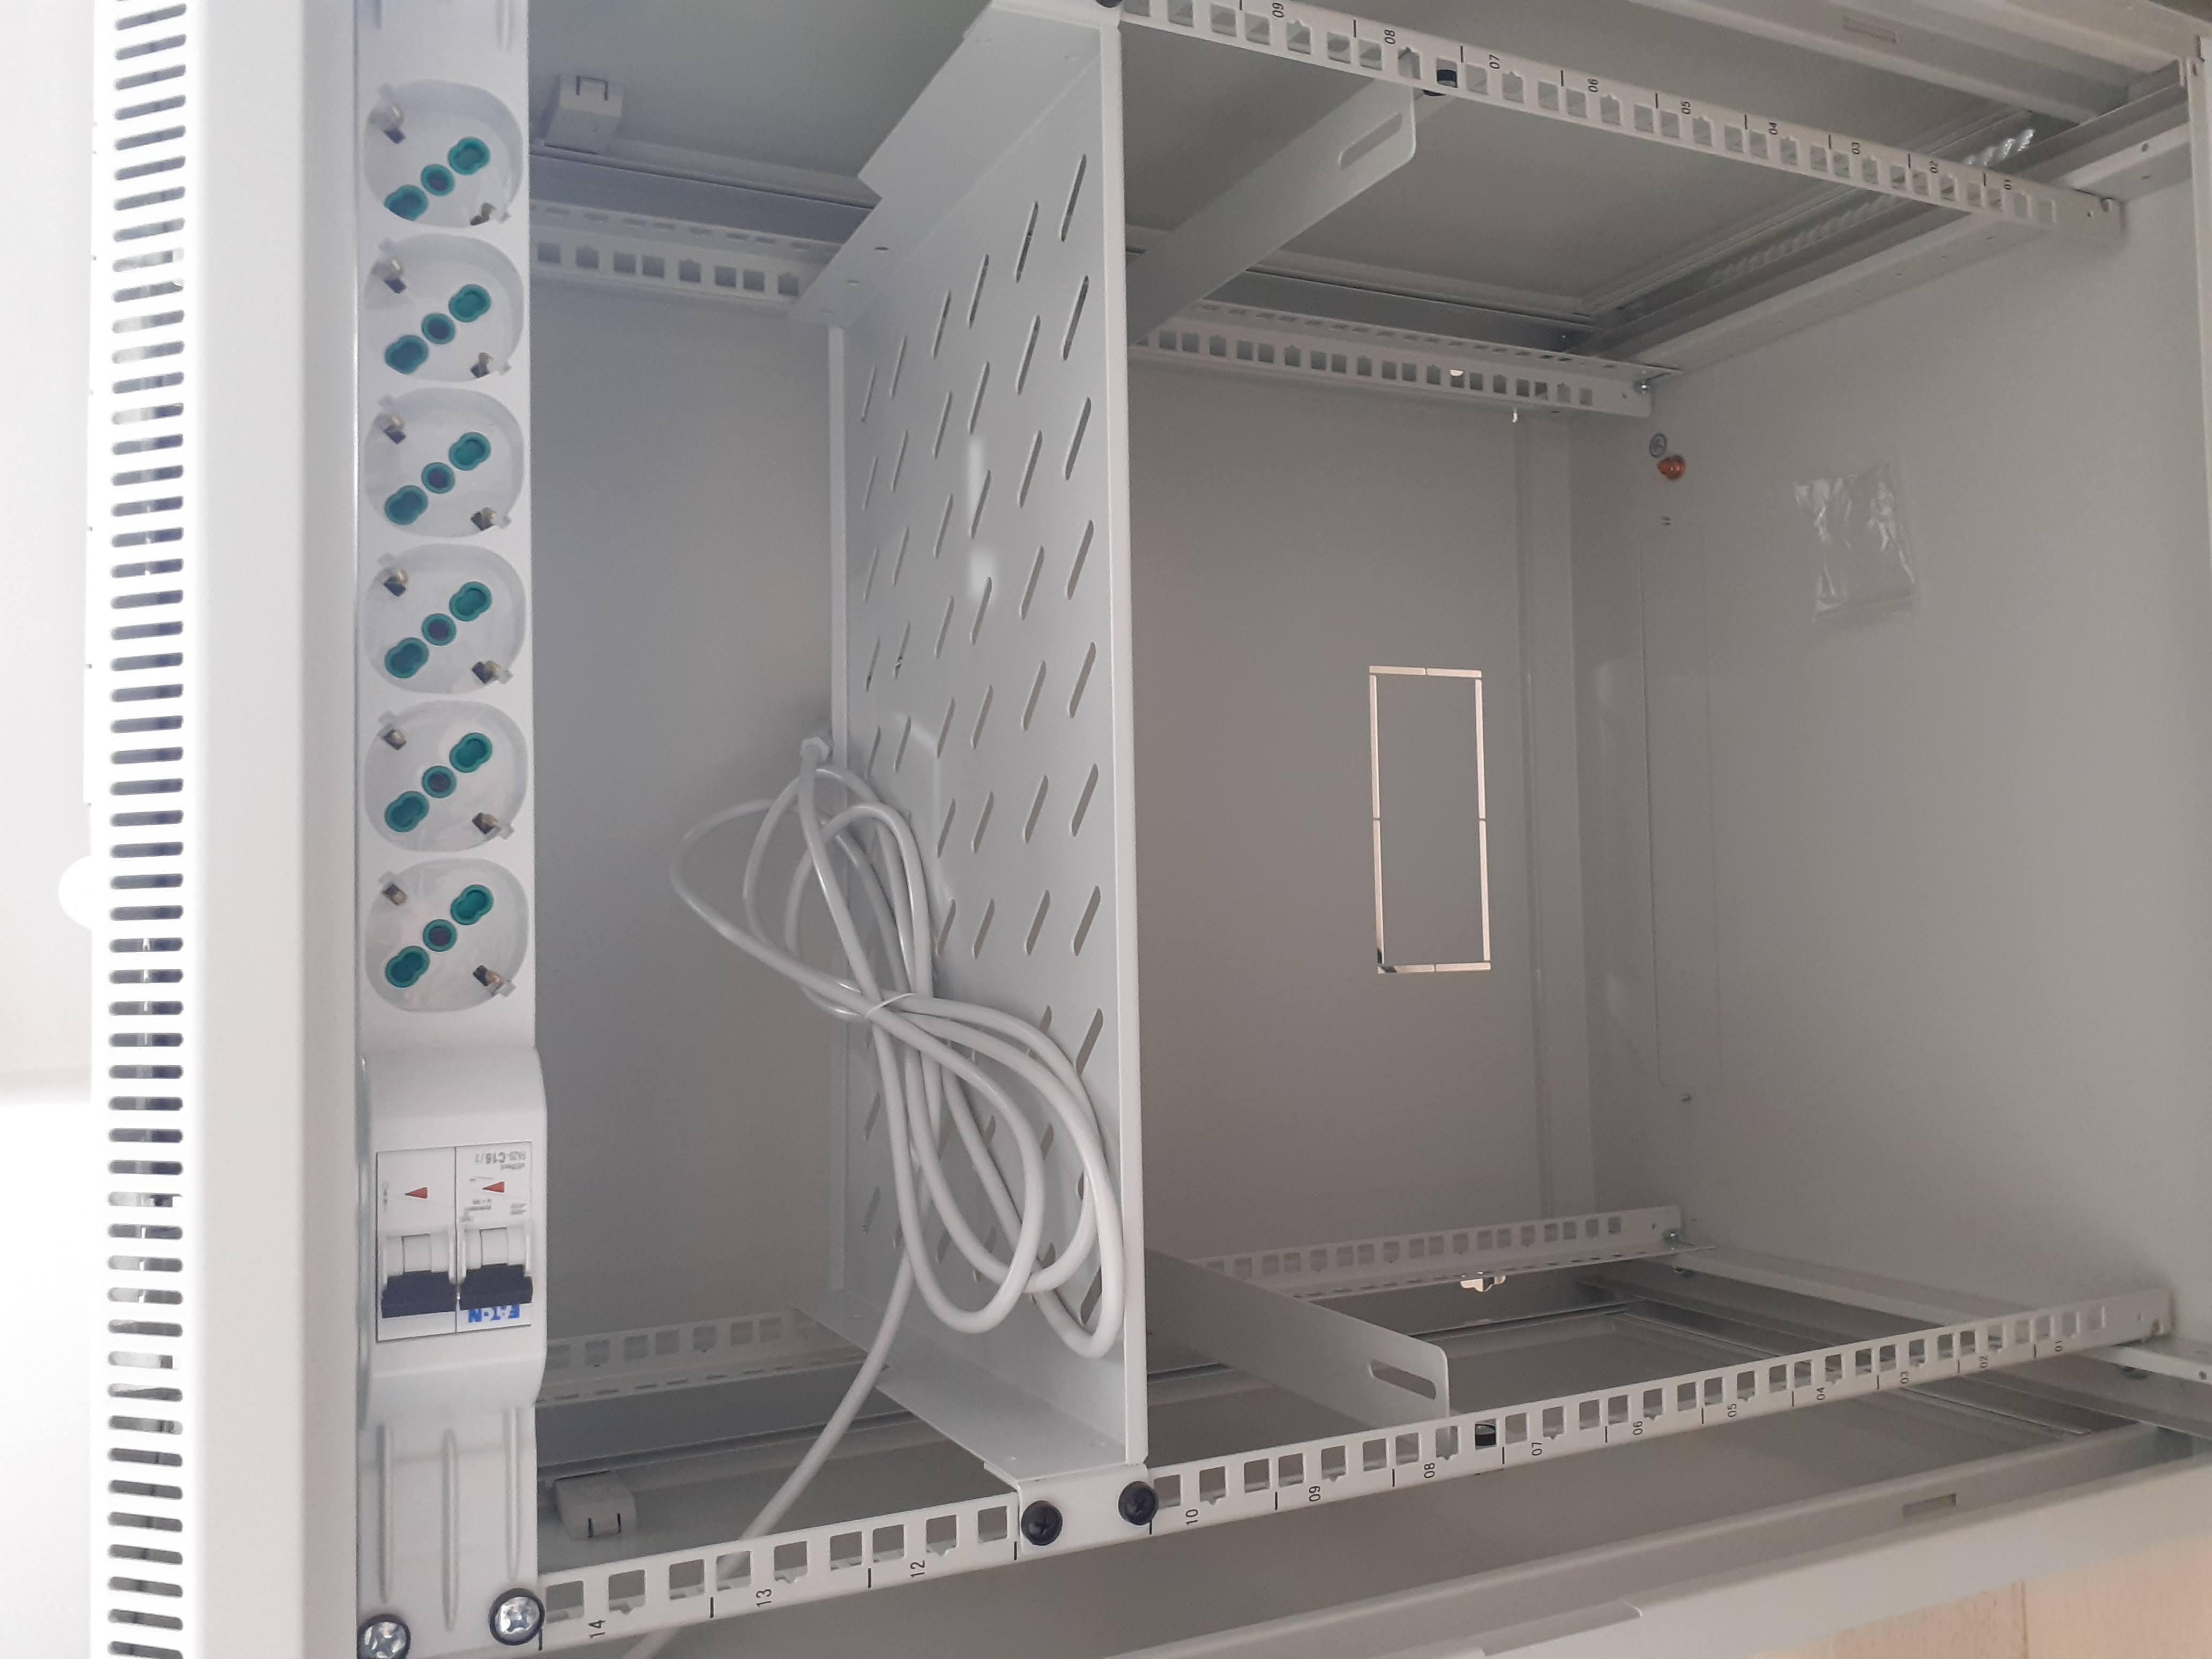
So this is, I believe, how it should come out:
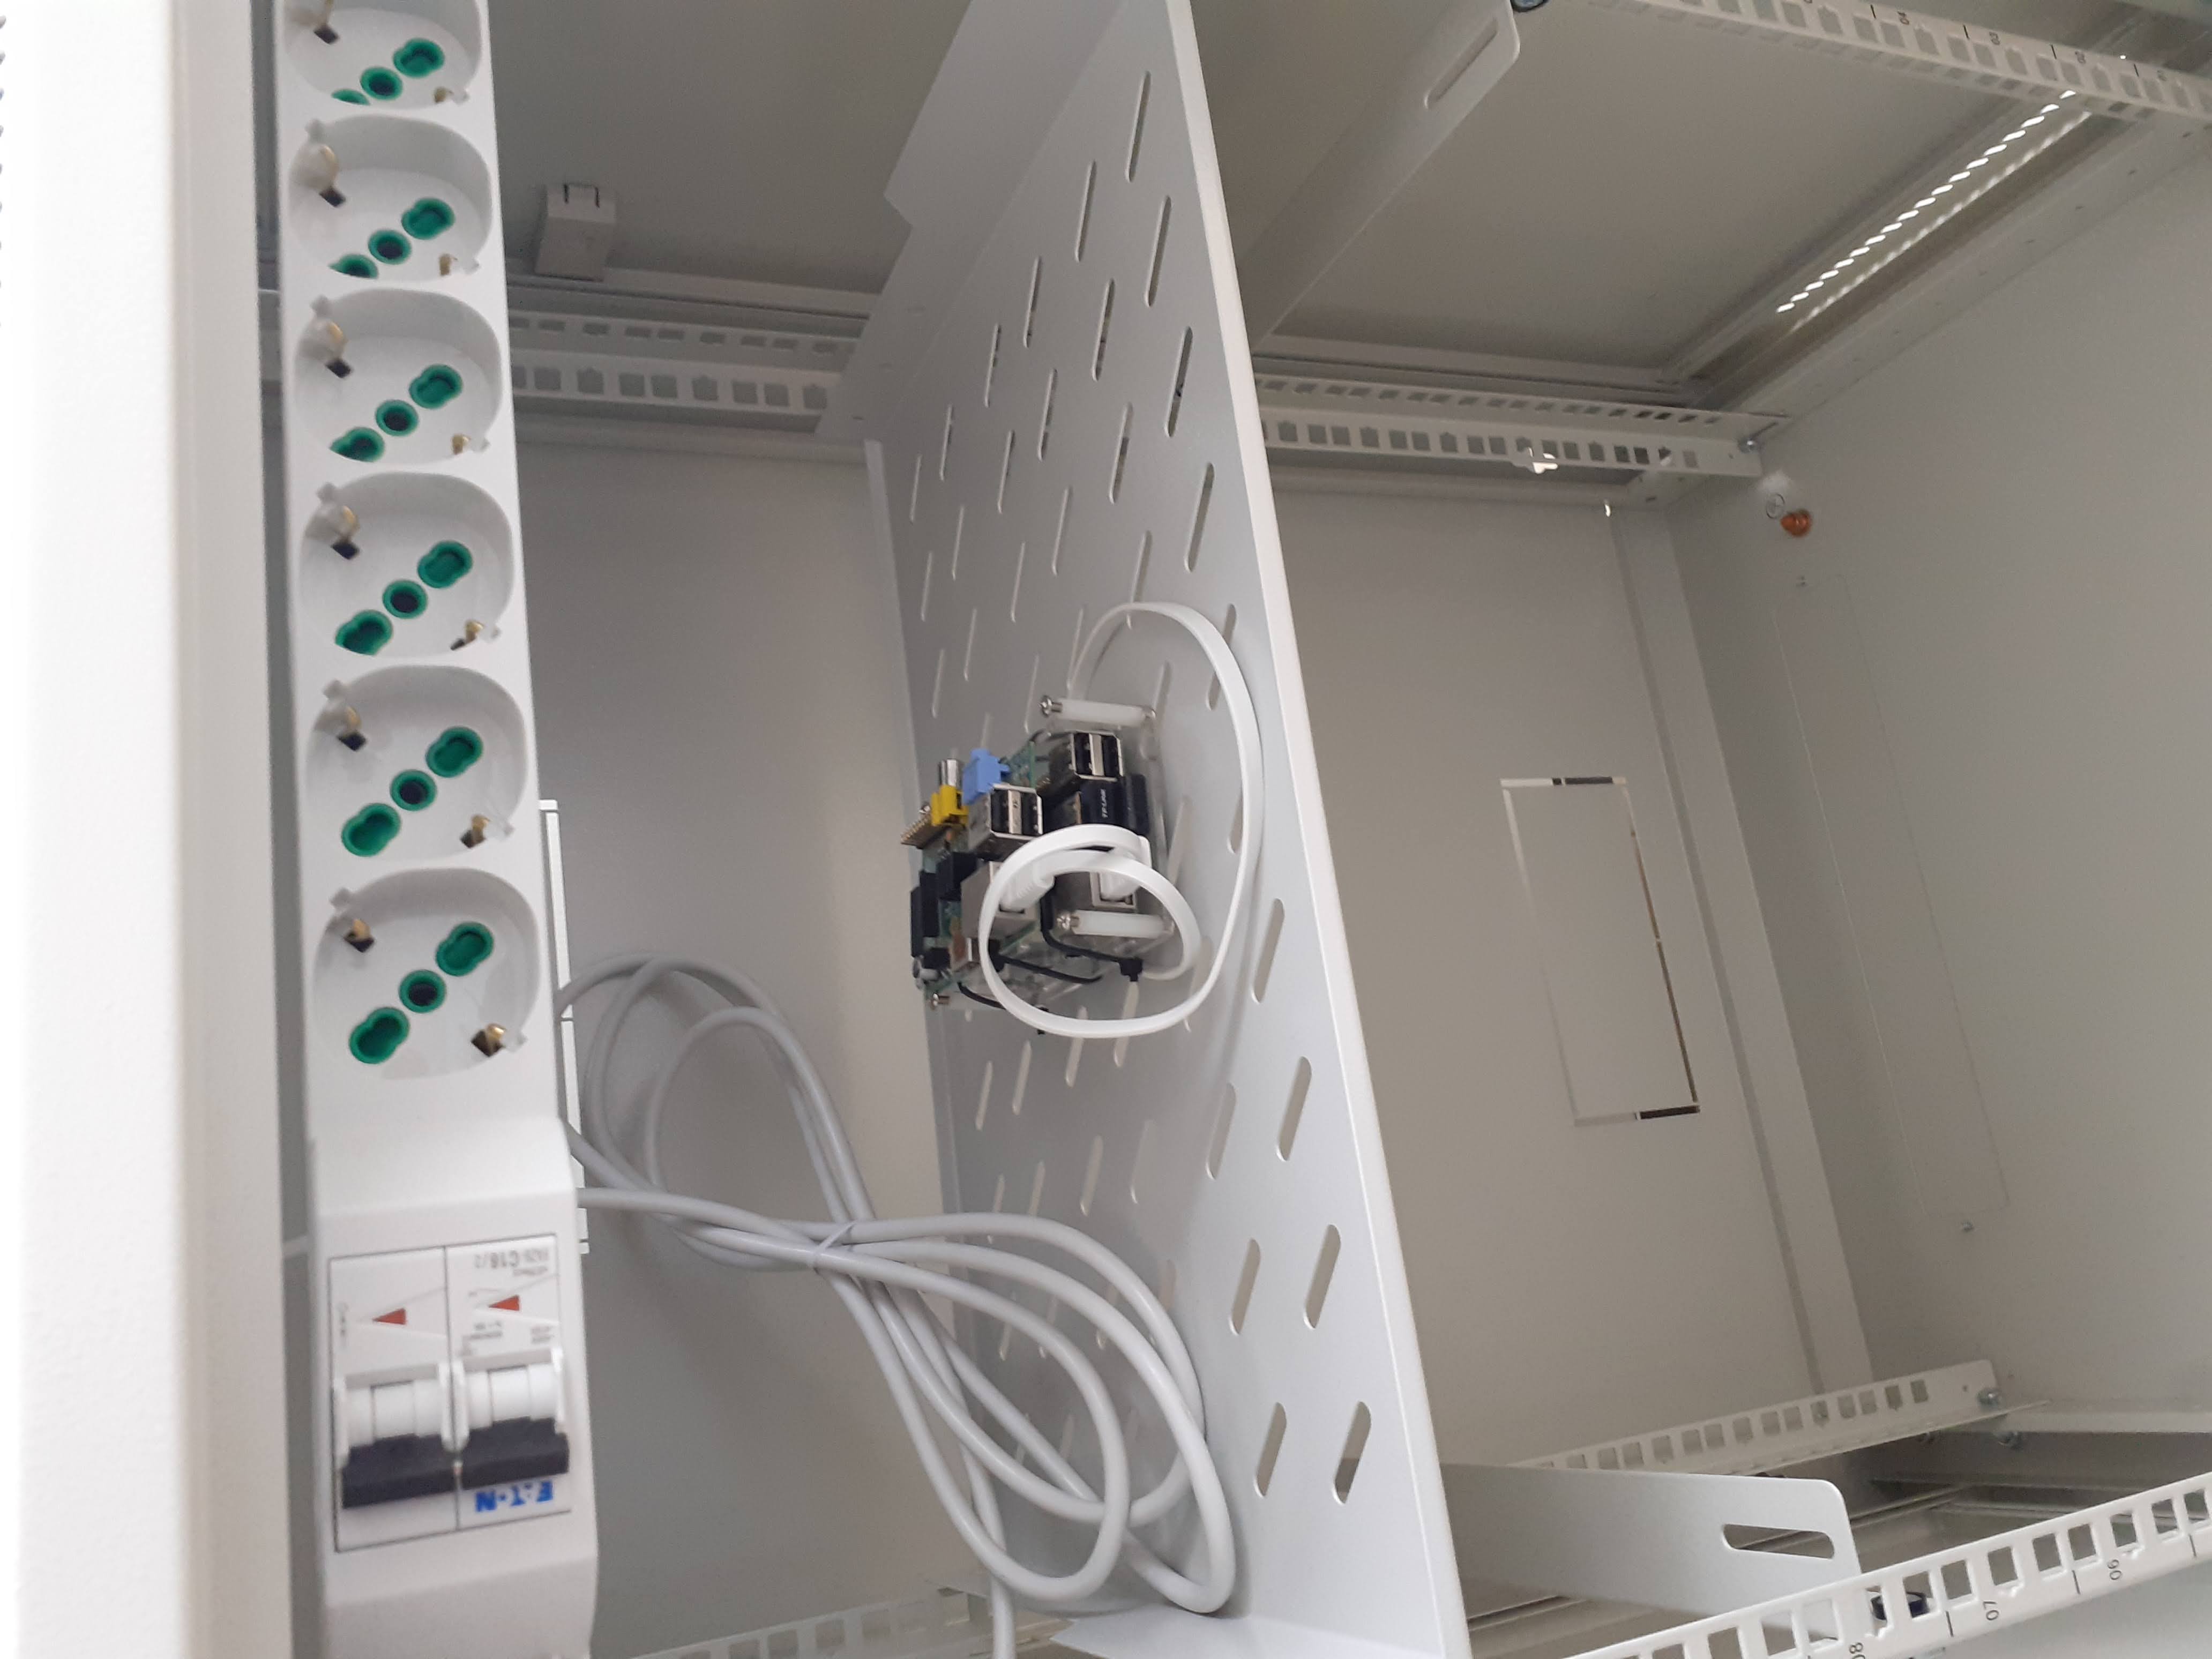
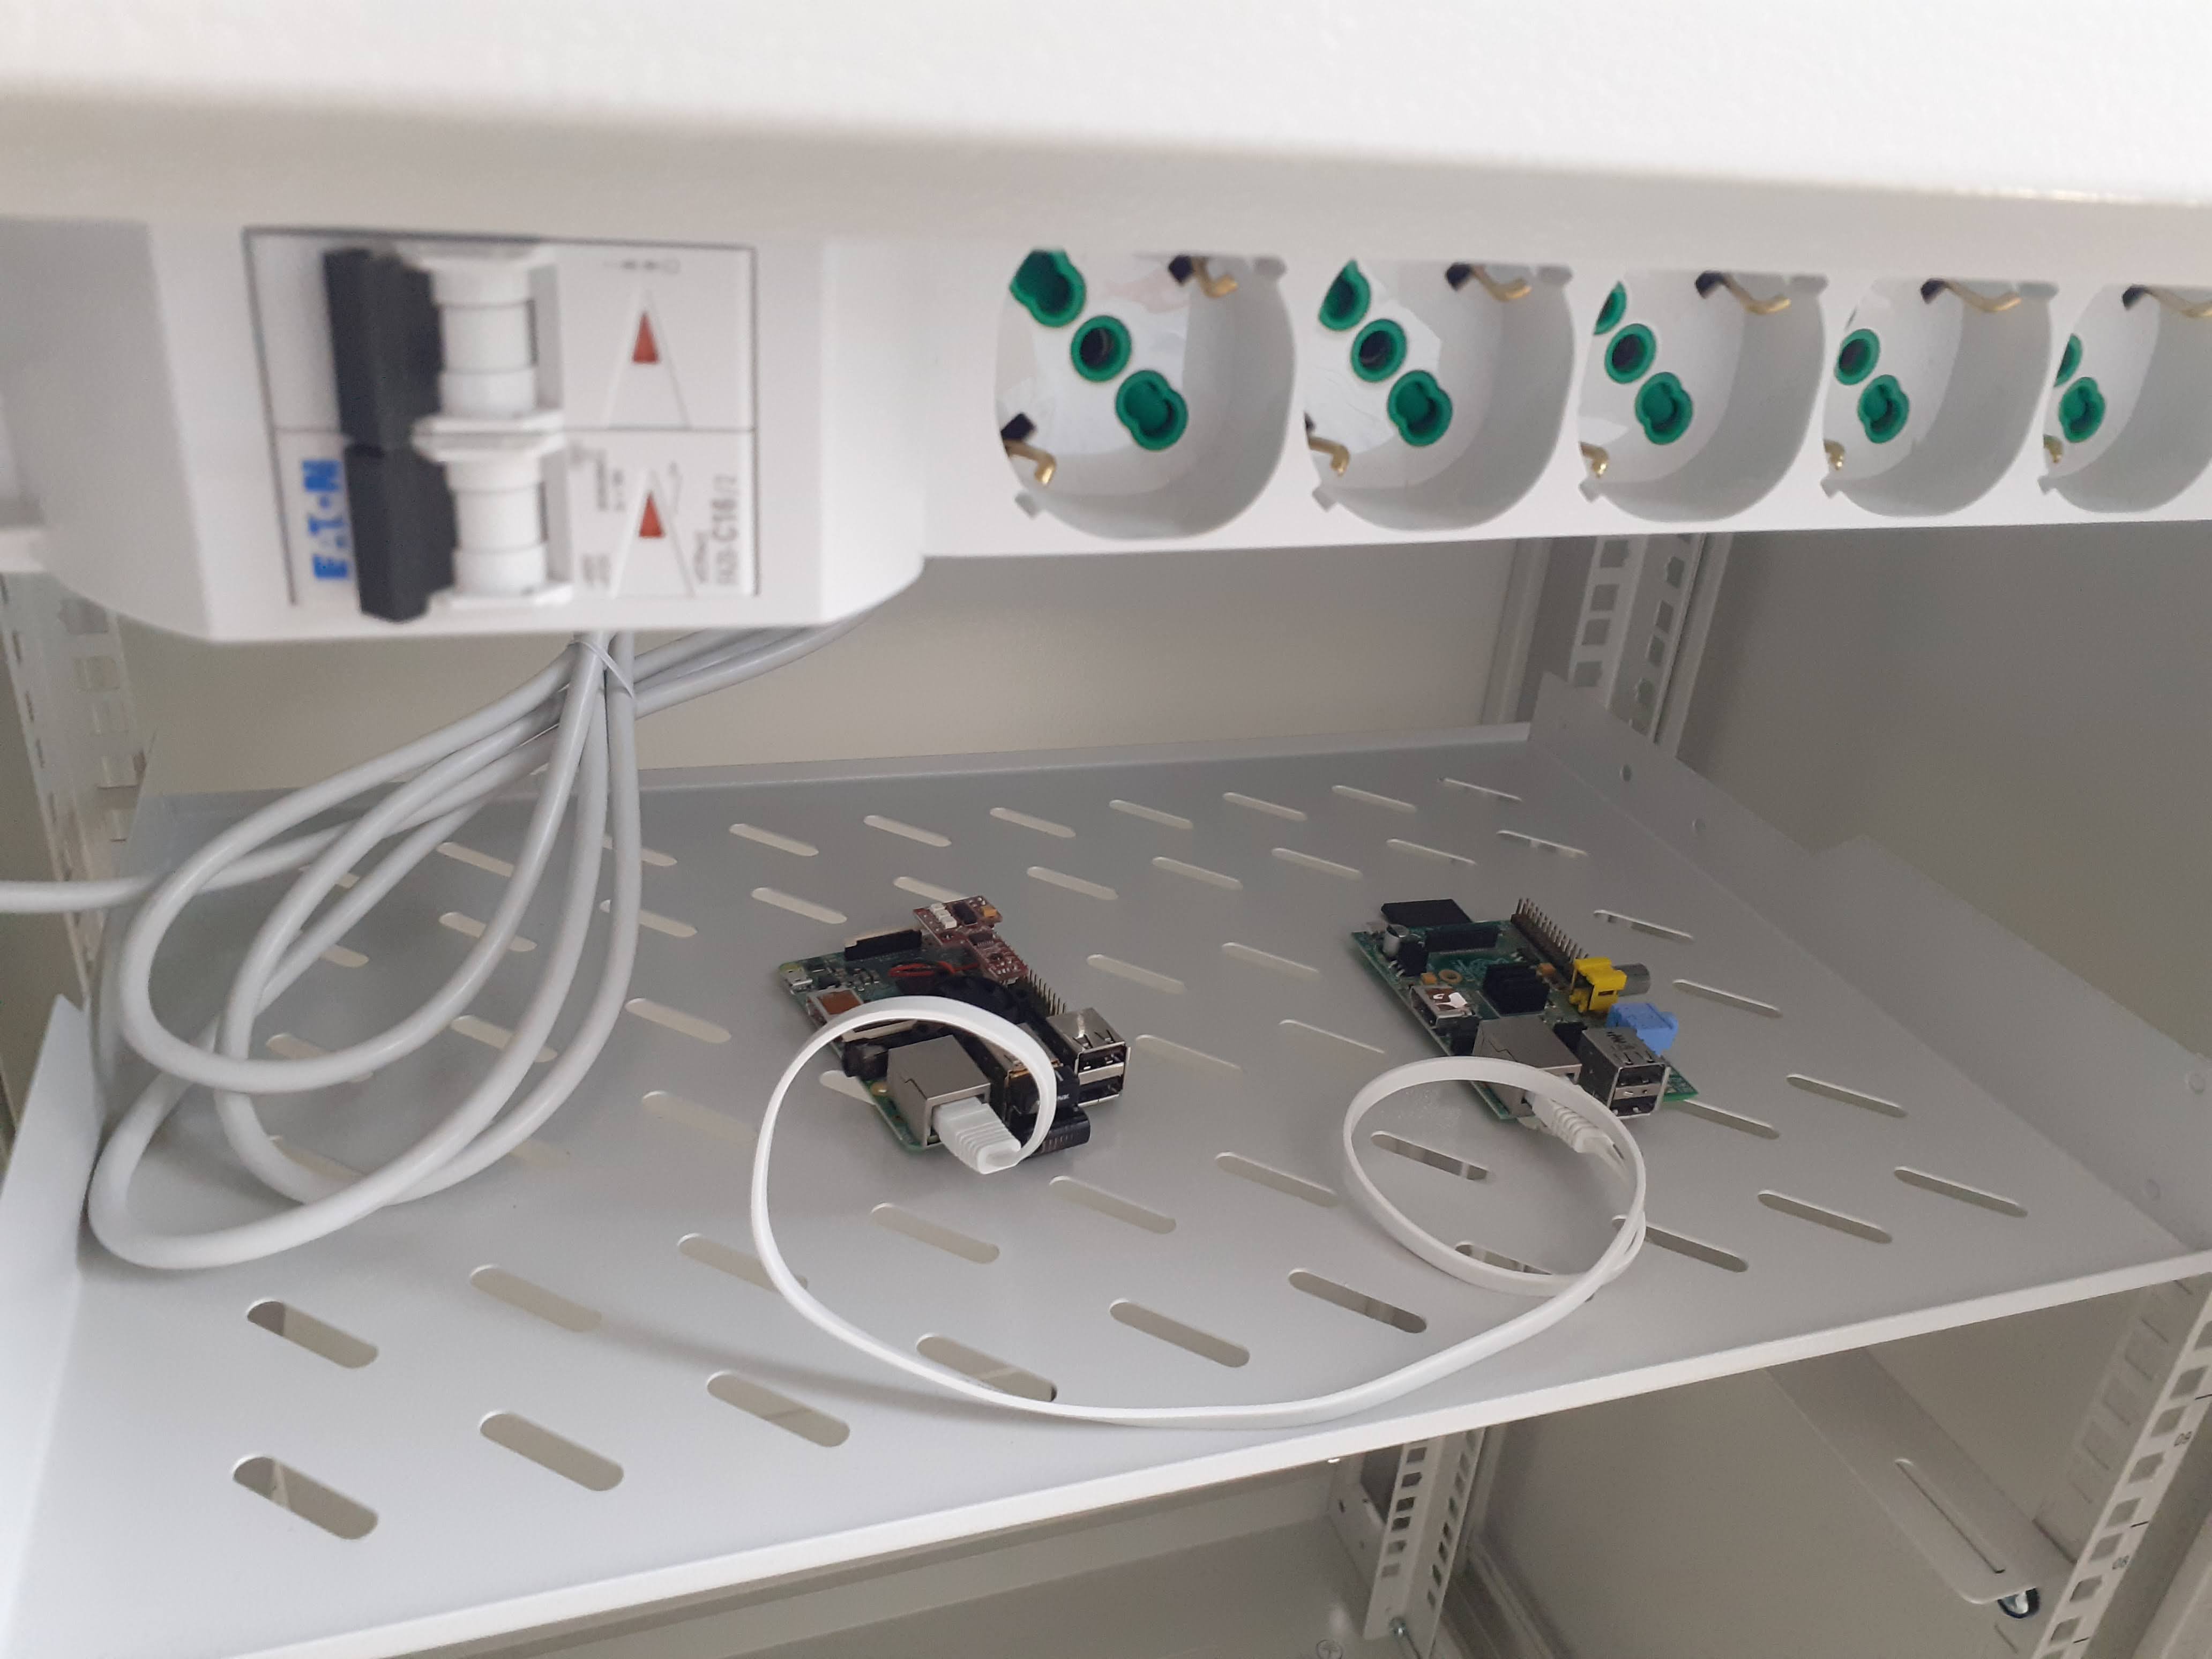
Proudly just laid my 2 Raspberry Pi in their new home:
Tada ?! Assembled! It “just” took me a couple of hours…
It feels great now, even though it is pretty much empty and unplugged.
The next post will be about how to move that 26kg empty server rack around the house…